Introduction
I always used to see my grandma’s old pictures and wish they could talk. Thanks to the wonders of AI technology, now it can!
In fact, if you're a content creator, marketer, or someone who loves to experiment with new tech, learning how to make a talking photo can add a dynamic twist to your visual content. Imagine sharing a cherished memory or promoting your brand through a photo that not only shows but speaks!
Sounds intriguing, right? Let me walk you through the process, step by step, and by the end of this guide, you'll have your very own talking photo to wow your audience.
Choose Your Talking Photo Generator
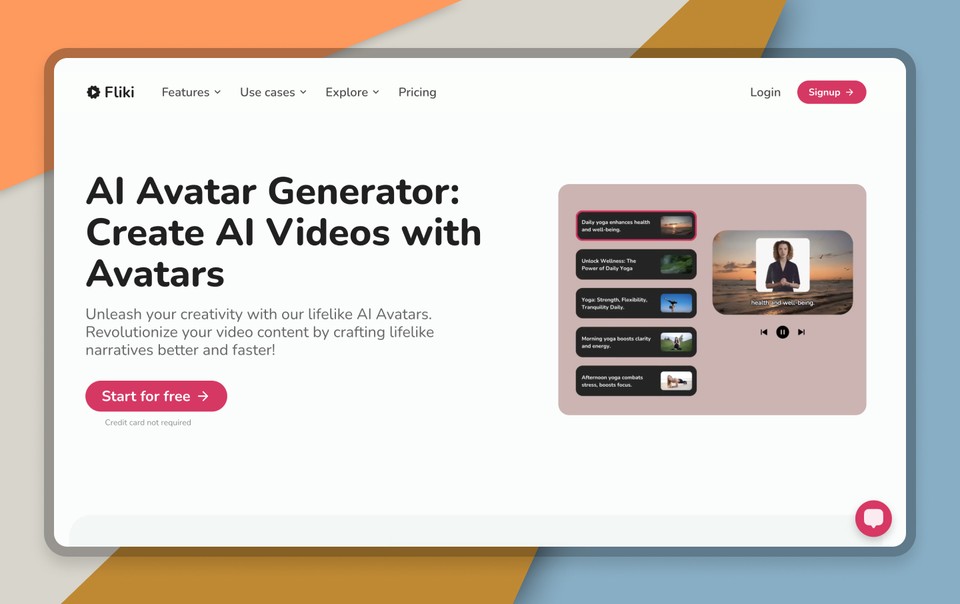
First things first, you need the right tools. Among lots of talking photo generators, finding the perfect one can feel overwhelming. But don't worry, I've done the homework for you. We'll use Fliki—one of the most user-friendly talking photo generators out there. With its simple UI and customization options, Fliki is the go-to tool for creating AI avatar videos, including our talking photos.
The journey begins with signing up for Fliki. While it's free version offers plenty of features, you need to get their premium plan to unlock the complete potential of the platform, allowing you to access a wider range of AI avatars and creative tools. Trust me, the investment is worth it if you're serious about creating top-notch content.
How to Make a Talking Photo with AI
Create Your Video File
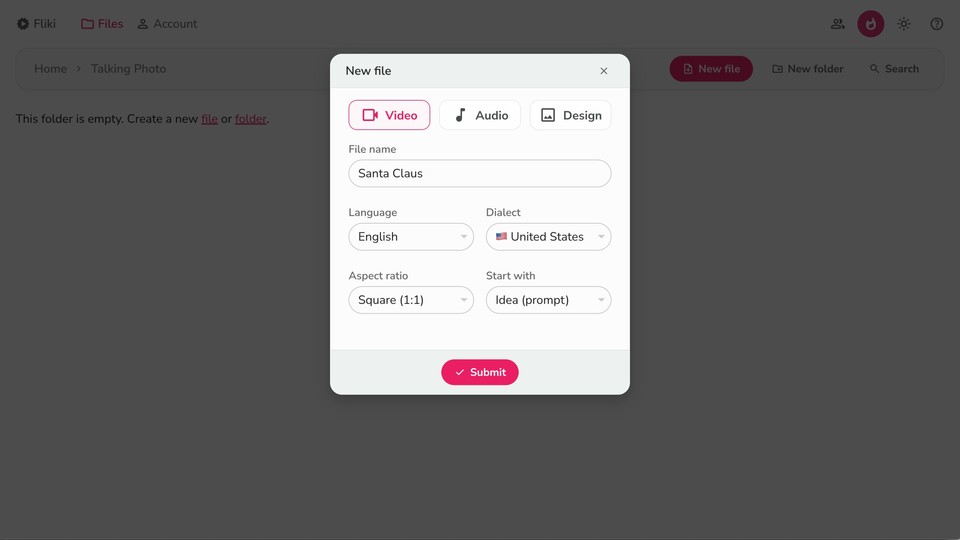
Once you're all set up on Fliki, it's time to dive into the actual creation process. Head over to the files page and click on "New File" to kickstart your project. This is where the magic happens. Choose the language and dialect that best fits your content—Fliki supports a diverse range of 80+ languages, making it accessible to global audiences.
Next, select the aspect ratio. Are you creating this for Instagram, YouTube, or perhaps a presentation? Fliki lets you tailor your video dimensions to fit any platform perfectly. I usually go with a square ratio for social media posts, but the choice is yours.
Now, set the 'start with' option to 'Idea' and click on submit.
Specify Your Video Details
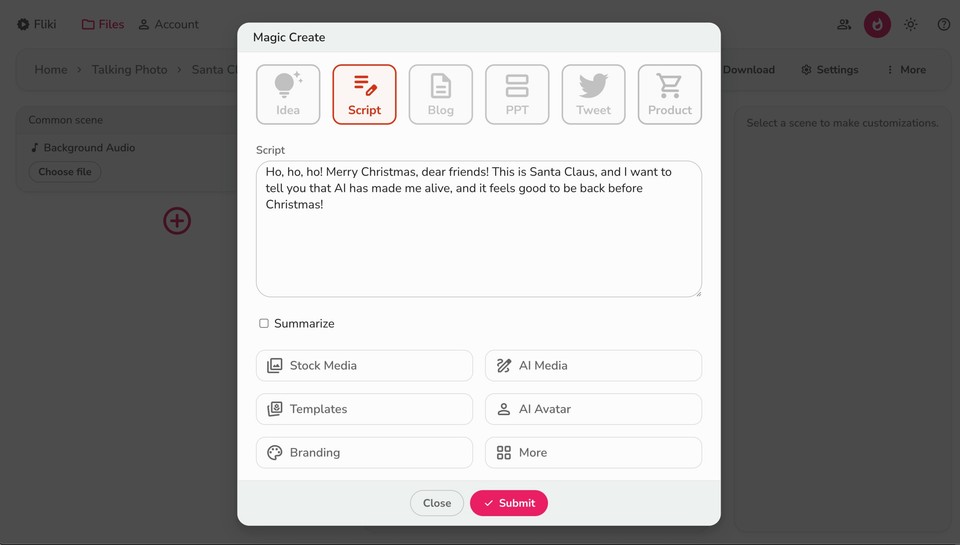
In the space provided, outline the core message you want your talking photo to convey. If you already have a script, go ahead and paste it into the script tab. If not, don't sweat it—Fliki's easy-to-use tools will guide you through crafting one.
Specify the length of your video. Since we're focusing on a talking photo, shorter clips usually work best. Think of it as a teaser or a snippet—a little something to pique interest. You can also add toppings like avatars and select the video template that aligns with your brand's aesthetics. Once you hit submit, Fliki starts working its magic, creating a video draft that you can further refine.
Upload Your Photo or Select a Stock Avatar
Now comes the fun part—choosing your avatar. In Scene 1, click on the Avatar icon to explore your options. Fliki offers an impressive collection of stock avatars, but, as promised, you can also upload your photo and convert it into a talking photo.
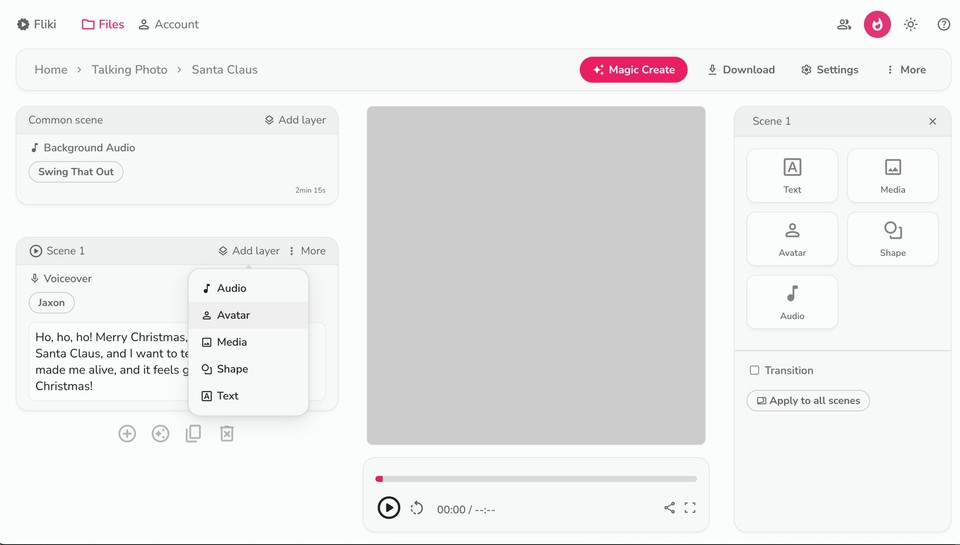
But what if you want something truly unique? Fliki also allows you to generate an avatar from scratch using text prompts. Simply describe the image in your mind, and the AI will bring it to life. Whether you stick with a stock avatar or create one from your own image, the choice is all yours.
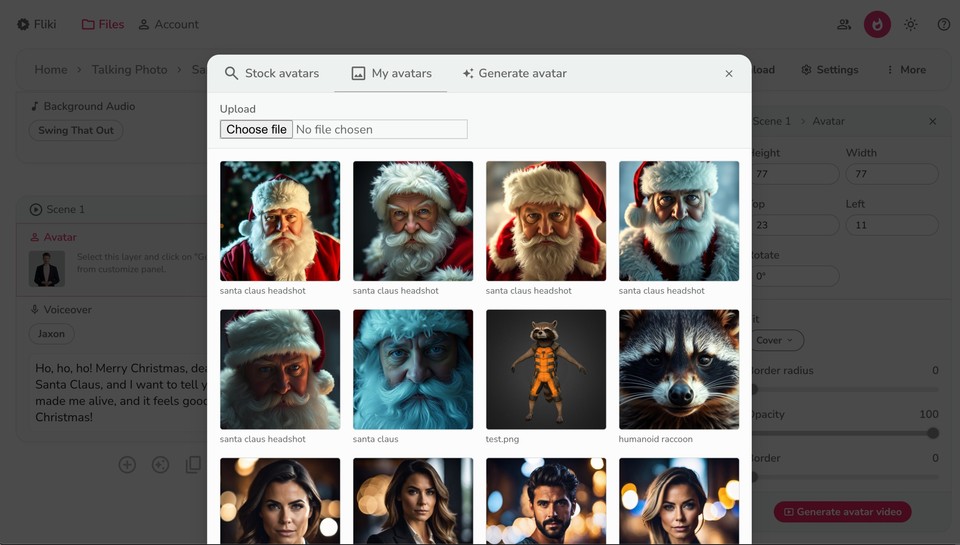
If you're following along, this is also the moment where you can turn a still photo into a talking one. Switch to the 'My Library' tab, upload your photo, and let Fliki handle the rest. Within moments, you'll see your photo come alive with lifelike movements and speech.
Customize Your Talking Photo
Customization is key to making your talking photo truly yours. Fliki gives you full control over your avatar's appearance and behavior. Want to change the background color? Go ahead. Need to adjust the size or position of the avatar? Easy as pie. You can even tweak the transparency and animation effects to give your video that extra flair.
This step is all about experimentation. Try out different looks, play with various animation settings, and see what resonates with your style. The more you explore, the more you'll discover ways to make your talking photo stand out.
Generate, Preview, and Download
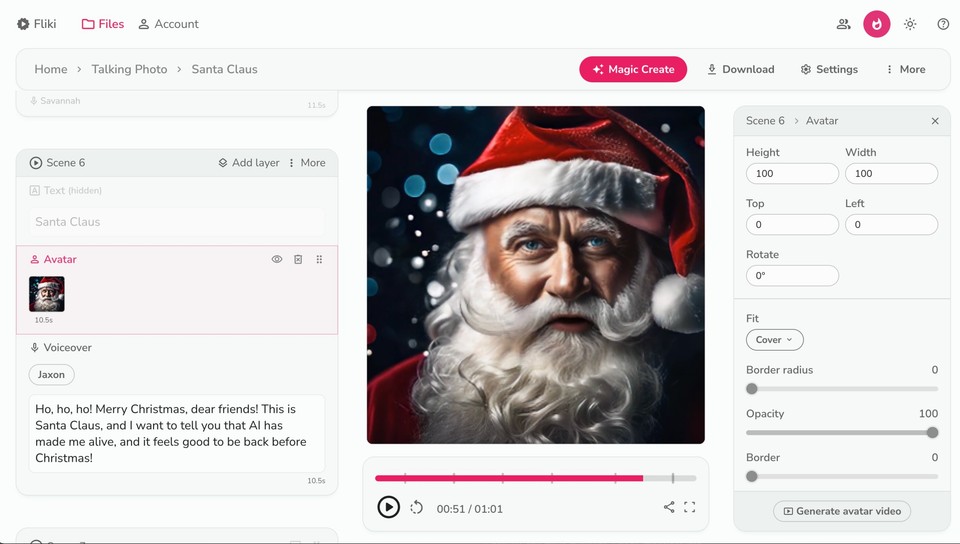
With your avatar selected and customized, it's time to bring everything together. Click on the 'Generate Avatar Video' button in the right customization panel, and watch as Fliki produces your video. It only takes a few moments, but those moments are filled with anticipation.
Once the video is generated, take a moment to preview it. This is your chance to make any final tweaks—adjusting the avatar's size, fine-tuning its position, or even rethinking the background. The goal is to ensure that everything looks just right and that your talking photo conveys the message you intended.
Finally, when you're happy with the result, click on the download option in the top panel. Your talking photo is now ready to be shared with the world! Whether you're posting it on social media, embedding it in a blog post, or using it in a presentation, your audience is sure to be captivated.
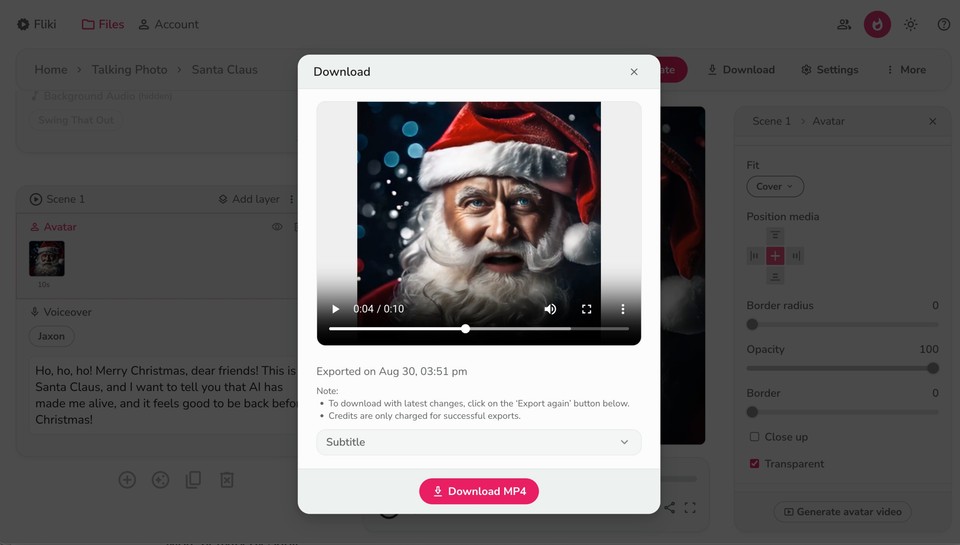
Here is an example video representing talking photo avatars generated with Fliki:
Final Thoughts
Creating a talking photo is not just about making a picture speak—it's about storytelling in a whole new dimension. Whether you're using it to share a personal story, market a product, or simply amuse your friends, this technology offers endless possibilities. So go ahead, dive into the world of AI avatars, and start making your photos talk today. Who knows? This could be the start of a new creative journey for you.
And remember, the key to a successful talking photo is to let your imagination run wild. The more personal and unique your creation, the more it will resonate with your audience. Happy creating!


