Creating YouTube thumbnails with AI
A great thumbnail is the difference between a click and a scroll. With Fliki's AI thumbnail maker, you describe what you want, Fliki writes a few thumbnail prompts you can fine-tune, and it generates ready-to-use options you can edit and download. Here's how it works.
Step 1 - Open the Thumbnail workflow
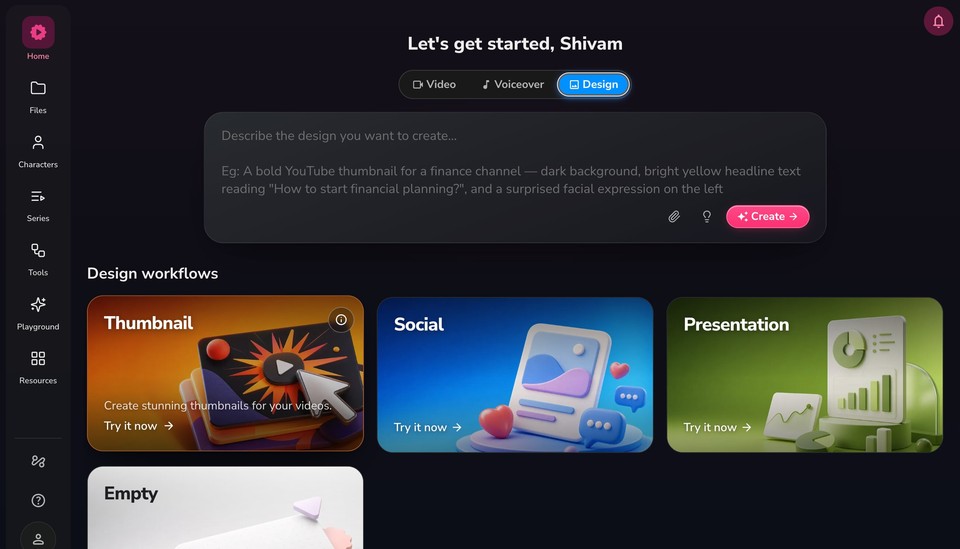
Open the Fliki homepage at app.fliki.ai.
Switch the top toggle from Video to Design.
You can type your idea straight into the "Describe the design you want to create" box, or under Design workflows, click Thumbnail ("Create stunning thumbnails for your videos").
Step 2 - Describe your thumbnail
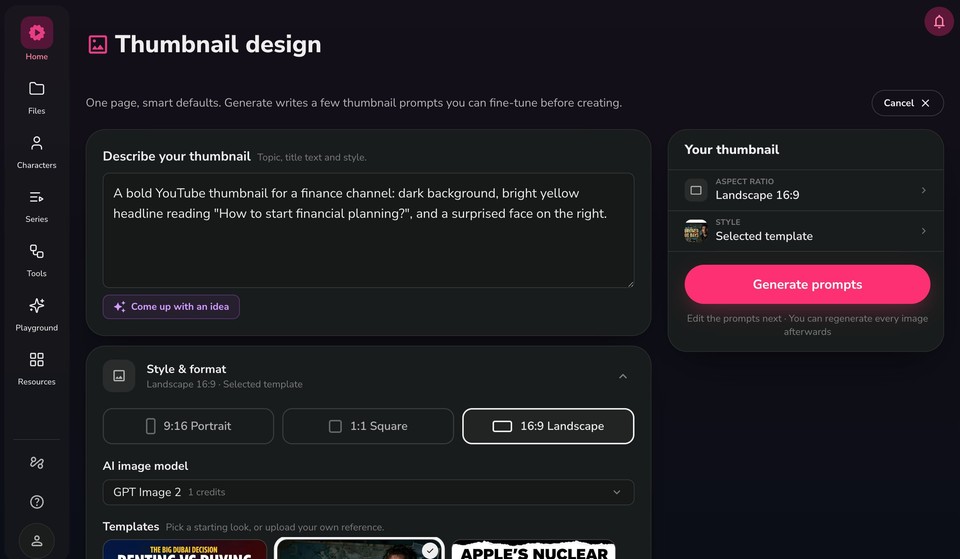
On the Thumbnail design page, this is the one required step. Everything else is derived from it.
In Describe your thumbnail, write the topic, the title text, and the style you want. For example: A bold YouTube thumbnail for a finance channel: dark background, bright yellow headline reading "How to start financial planning?", and a surprised face on the right.
Not sure what to write? Click Come up with an idea and Fliki drafts a description for you.
The rail on the right ("Your thumbnail") summarizes your Aspect ratio and Style. Tap either row to change it.
Step 3 - Set the style and format
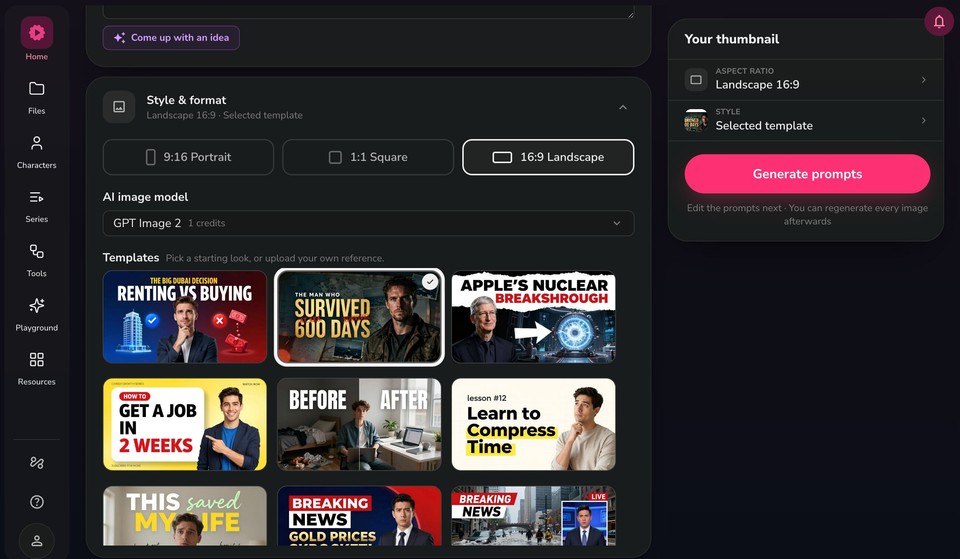
Open Style & format to control the look:
Aspect ratio - Choose 16:9 Landscape for YouTube thumbnails, or 9:16 Portrait and 1:1 Square for other platforms.
AI image model - Pick the model that generates your images (for example, GPT Image 2).
Templates - Pick a starting look from the gallery (bold news, before/after, "how to" styles, and more), or upload your own reference image to match a style you already use.
Step 4 - Generate the thumbnail prompts
Click Generate prompts. Instead of generating a single image blindly, Fliki writes a few detailed thumbnail prompts you can review and fine-tune first. You'll edit them in the next step, and you can regenerate every image afterward.
Step 5 - Refine your thumbnails
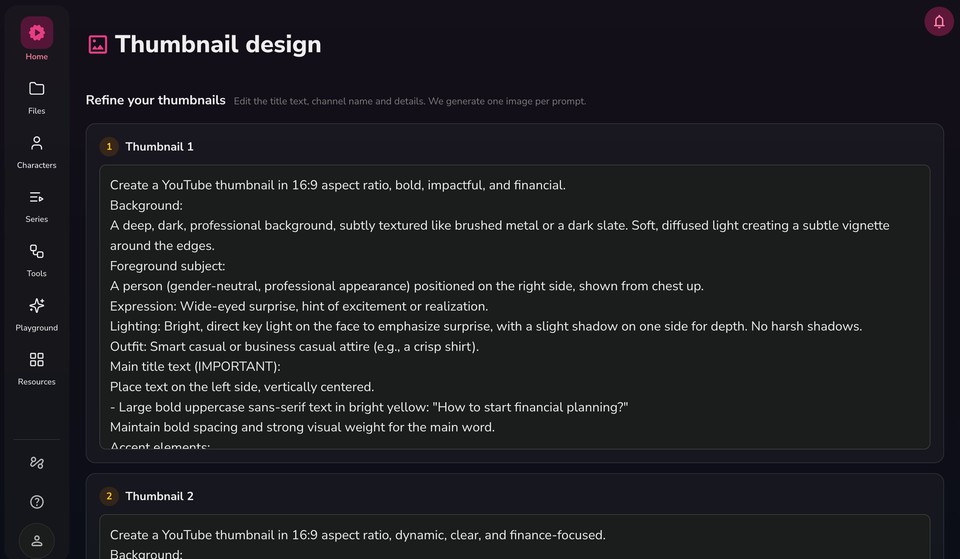
Fliki generates one image per prompt, so this is where you shape each option.
Under Refine your thumbnails, you'll see a prompt for each thumbnail (for example, Thumbnail 1, 2, and 3). Each prompt spells out the background, foreground subject, expression, lighting, outfit, and the main title text.
Edit any prompt directly to change the title text, the channel name, the wording, or the details.
Click Regenerate prompts to have Fliki rewrite them, or Back to settings to change the aspect ratio, model, or template.
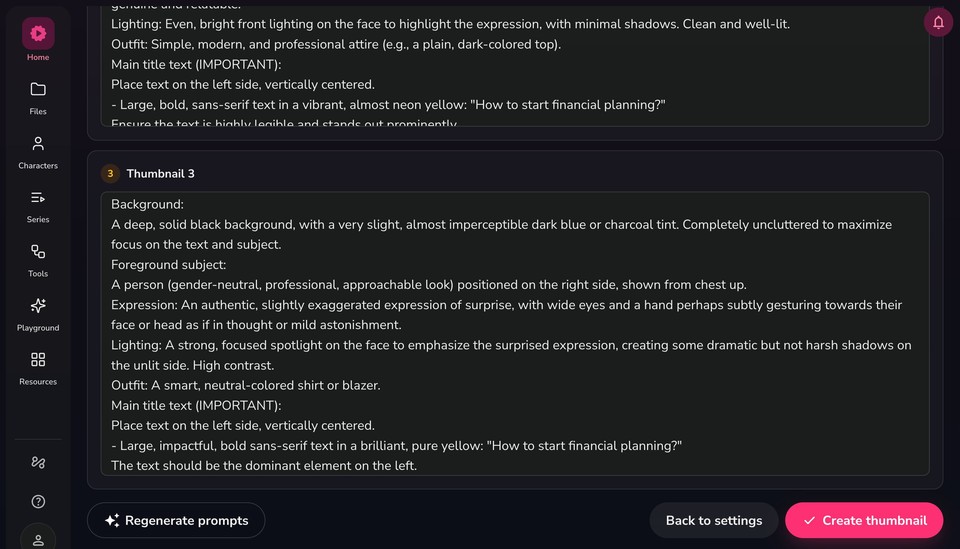
When you're happy, click Create thumbnail. Fliki generates one image per prompt.
Step 6 - Preview, edit, and regenerate
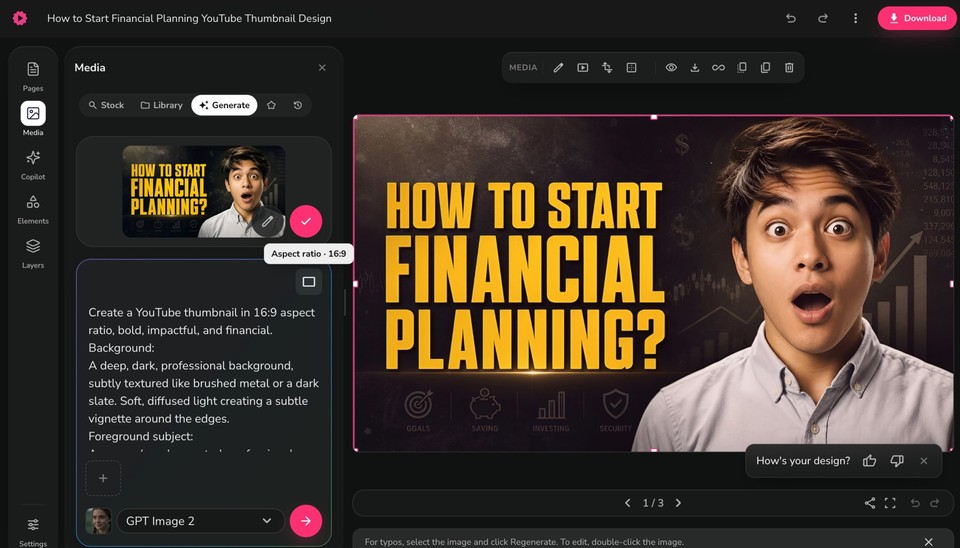
Your generated thumbnails open in the editor, and you can page through your options (for example, 1/3).
Regenerate or tweak with a prompt - In the Media panel, use the Generate tab to adjust the prompt and regenerate the image. To fix a typo, select the image and click Regenerate.
Edit on the canvas - Double-click the image to edit it. Use the left sidebar to work with Media, Elements, and Layers, so you can add or restyle text, graphics, and shapes.
Change the aspect ratio - Use the aspect ratio control on the selected image if you need a different crop.
Step 7 - Download your thumbnail
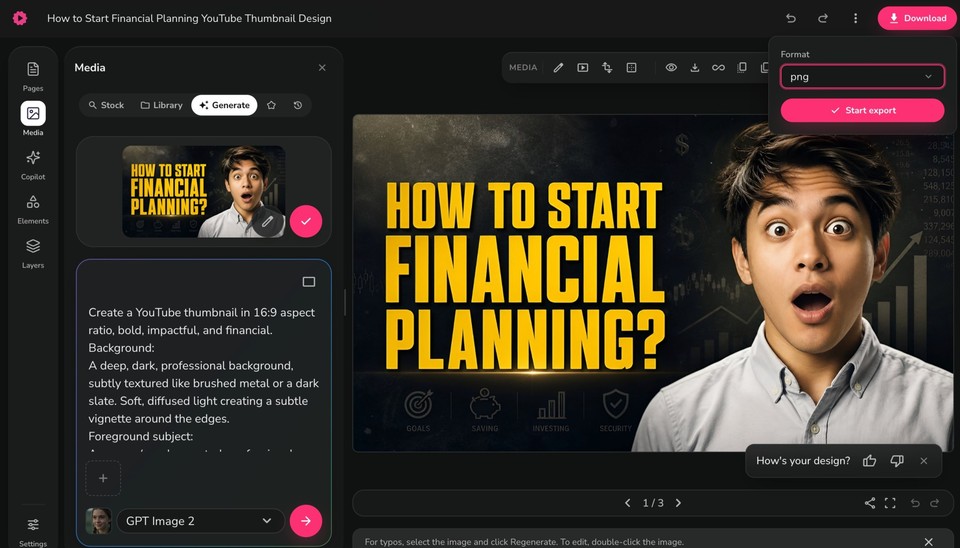
When you're happy with a design:
Click Download in the top-right.
Choose your Format: png, jpg, webp, pdf, or pptx.
Click Start export. Your thumbnail downloads to your device, ready to upload to your YouTube video.
With Fliki's AI thumbnail maker, you can go from a one-line idea to a set of polished, click-worthy thumbnails in minutes. Try it today and give your videos the first impression they deserve.