Create Product Tutorial/ Demo videos
Learn how to create product tutorial or product demo videos using AI voices with Fliki.
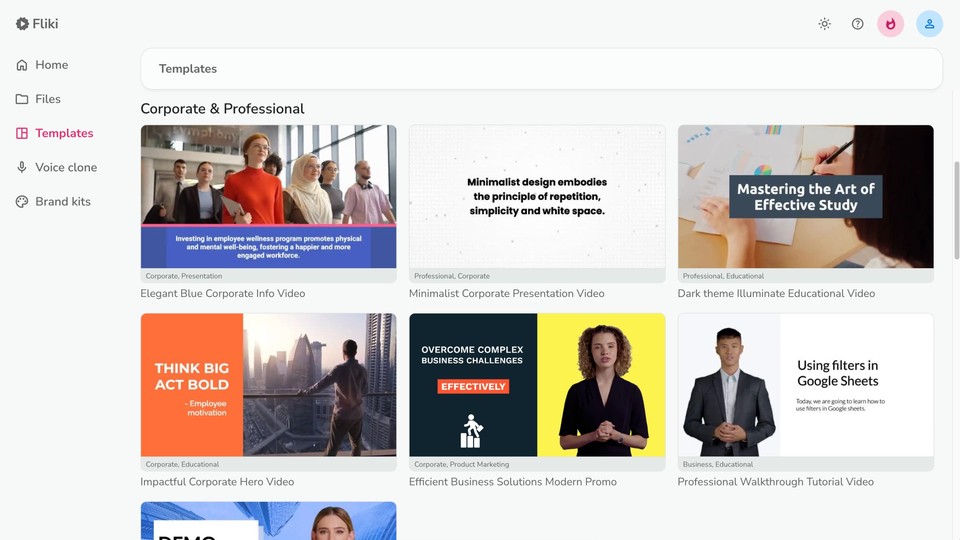
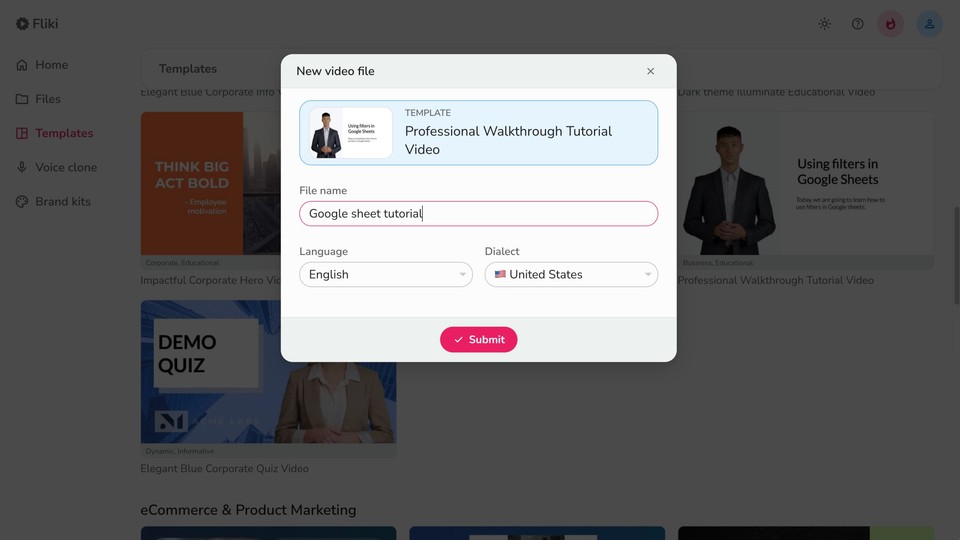
Step 1 - Create a video file
Go to the Templates tab and select the desired template.
To organize your files into specific folders, it's recommended to first select the Files option from the left panel, create or navigate to the desired folder, click the New file button, and then open the Templates tab.
Step 2 - Record media
Select Scene 1. Click on the thumbnail icon in the layout layer to open the Media Selection menu. Navigate to the “My Library” tab. Click on “Record Media.”
Recording Options:
Screen and Camera: Check both boxes to record your screen and camera simultaneously (optional)
Screen Only: Check only the screen box if you plan to use AI features such as AI voices, voice cloning, or avatars.
Note: It’s recommended to record shorter clips, around 10-15 seconds each, to make future updates easier. Short clips allow you to re-record specific sections without needing to redo the entire video.

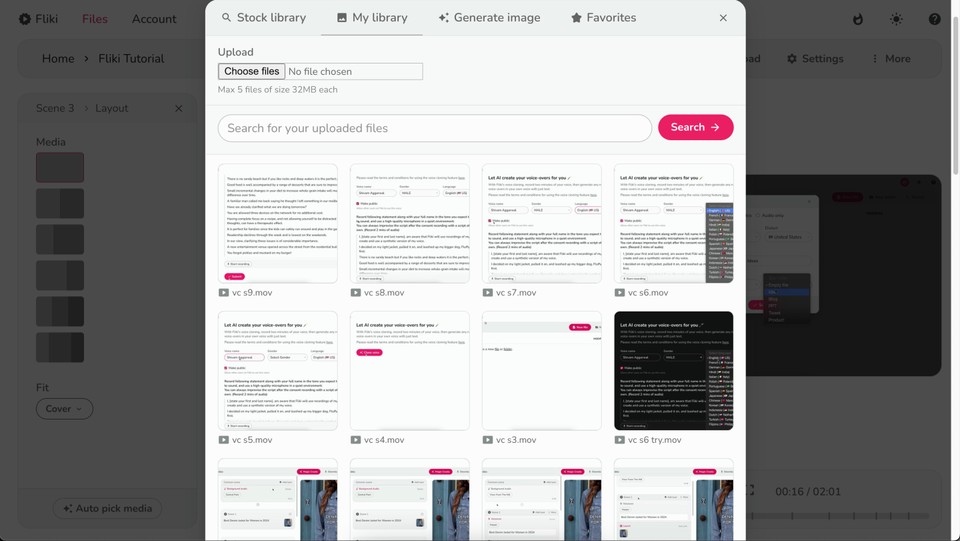
Step 3- Upload and select media
After recording each clip, name the recorded files for easy identification. Hit the upload button to save the clips to your library. Once uploaded, you can assign each recorded clip to its respective scene in your project.
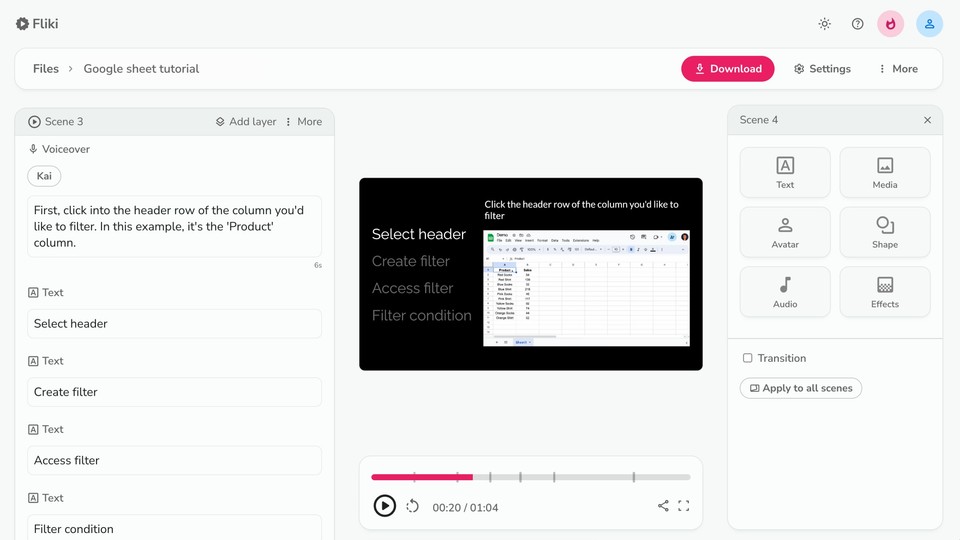
Step 4 - Select voice and edit script
Click on the voice name in the voiceover layer. This will open the voice selection popup. You can choose from any of the 2000+ voices in 75+ different languages. Once selected, you can add the voiceover script describing the step in the voiceover layer of each scene.
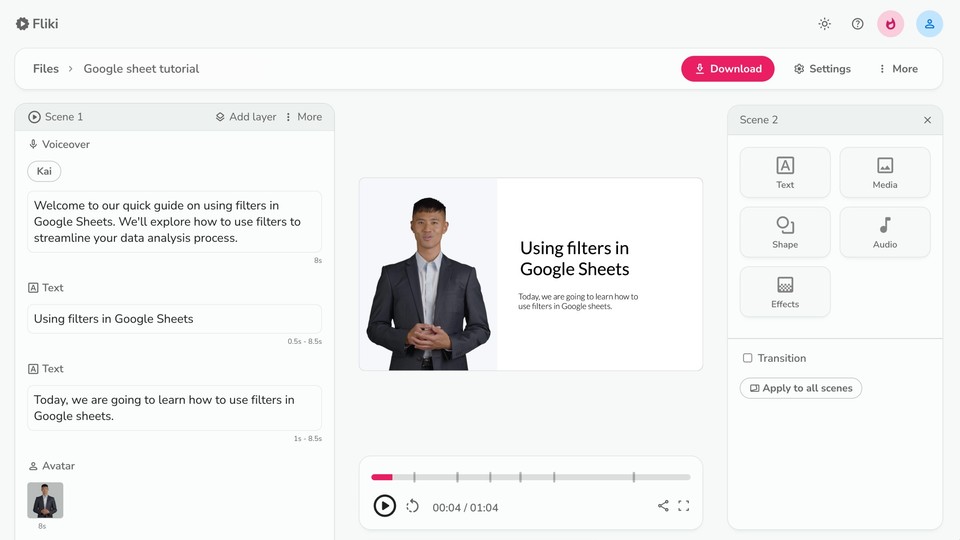
Step 5 - Customize other layers
You can enhance your video’s appeal with other layers:
Avatar Layer: Pick from stock avatars or upload your image. Customize position, size, close-up settings, transparency, and animation. Learn more about using AI avatars in Fliki.
Picture-in-Picture Layer: Control settings for the smaller video inside the main one.
Text Layer: Manage words that pop up on the screen for emphasis or explanation.
Audio Layer: Handle uploaded audio or add cool sound effects.
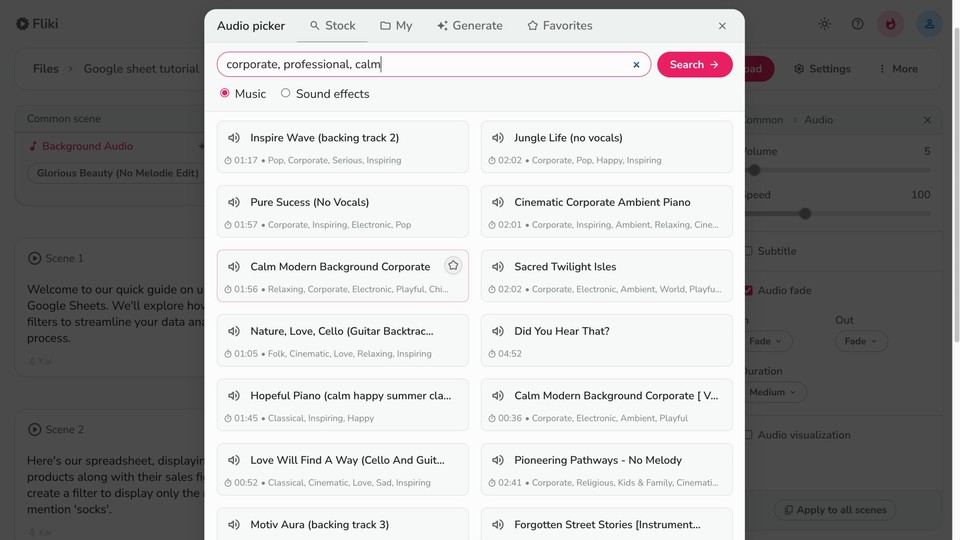
Step 6 - Add background music
Add background music by clicking "Choose File" in the background audio layer. Adjust the music's volume and speed in the customization panel.
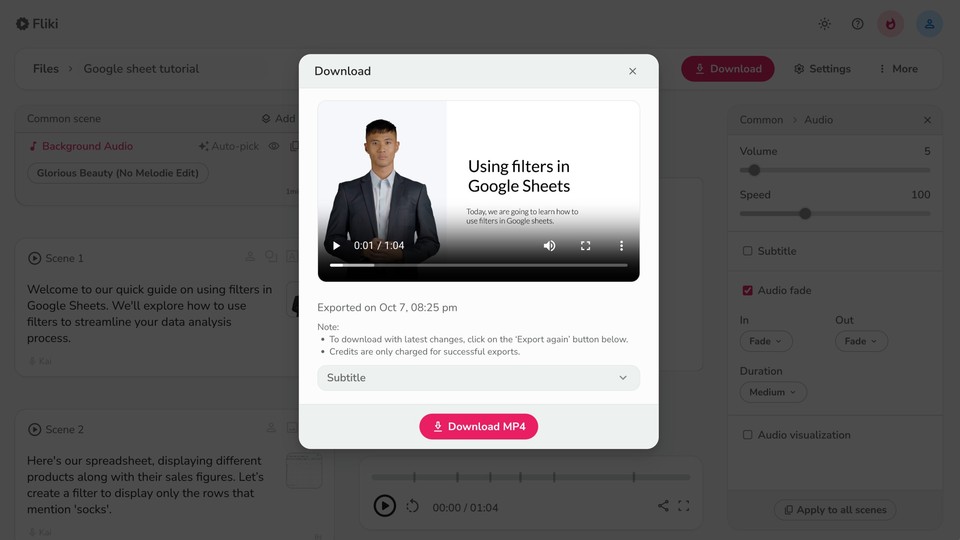
Step 7 - Download
Finally, click "Download," then "Start Export" to download your video in MP4 format.
Result
Check out the final product video:
FAQs
A tutorial video is instructional content visually demonstrating how to perform a specific task. It typically includes step-by-step guidance, explanations, and demonstrations to help viewers understand and replicate the process taught.
To create a tutorial video using Fliki, record each step of your tutorial using a screen recording tool, ensuring each step is around 10-15 seconds long. Next, upload the recorded media to Fliki, select a voice add a script for each step, customize layers such as avatars, text, and audio, and add background music. Finally, download your tutorial video in MP4 format.
The content of a tutorial video typically includes detailed instructions and demonstrations aimed at teaching viewers how to use the product/ tool.