Introduction
Are you’re still fiddling with your video links that refuses to show up nicely inside Canvas? We’ve all been there - copy, paste, preview, cringe, repeat. Embedding a video in Canvas shouldn’t feel like wrangling a glitchy time machine. It can be smooth, accessible, and even fun once you know the steps (and the shortcuts).
In this guide, I’ll walk you through exactly how to embed a video in Canvas, whether it lives on Fliki, Panopto, YouTube, Vimeo, etc. Think of this as the kitchen-table chat you wish you’d had before you lost an evening to broken iframes. We’ll cover:
Choosing the best host (Canvas, Fliki, Panopto, or elsewhere)
Getting a clean, responsive embed code
Using the Canvas Rich Content Editor like a pro
Adding captions and alt text so everyone can learn
Troubleshooting the top three “Why won’t it show?” errors
Grab your favorite mug, settle in, and let’s replace link chaos with video-powered calm.
💡 Not familiar with Fliki? Think of it as a friendly bridge between your script and a finished video:
AI Text to Video – Paste your lesson notes; Fliki turns them into slides with high quality AI voice-overs, voice cloning, AI avatars, brand colors and AI visuals.
Captions, Two Ways – Burned-in captions for quick accessibility and downloadable .srt / .vtt files for Canvas’s caption uploader.
One-Click Embed Code – When you export, Fliki hands you a clean <iframe> snippet that drops straight into the Canvas Rich Content Editor (RCE).
It’s solves two headaches at once: creating learning-ready video and embedding it where students can’t miss it.
How to Embed a Video in Canvas
Step 1 - Decide Where the Video Will Live
Situation | Best Host | Reason |
|---|---|---|
< 5-minute impromptu update | Canvas Media Recorder | Fast, no extra accounts |
Evergreen lecture, scripted | Fliki | AI voices, captions, instant embed |
Multi-chapter playlist | Panopto | Campus SSO, analytics, playlists |
Public inspirational clip | YouTube / Vimeo | Universal playback & captions |
Quick assessment: If you want captions baked in and a separate SRT file without extra software, Fliki wins hands-down.
Step 2 - Create (or Upload) and Collect the Embed Code
If You’re Using Fliki
Create your video from text or upload an existing clip.
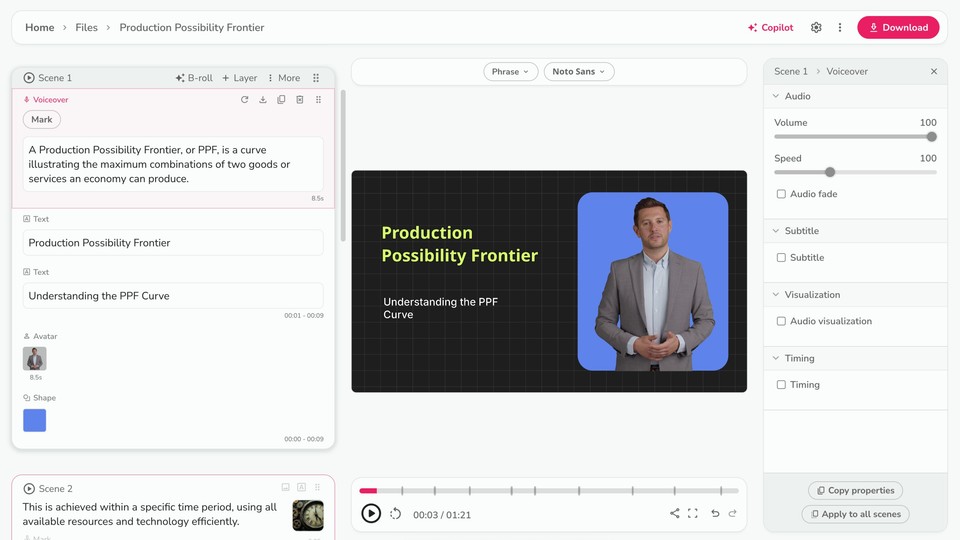
Click Download → Start Export → Fliki renders the file, generates SRT/VTT captions, and shows an Embed button.
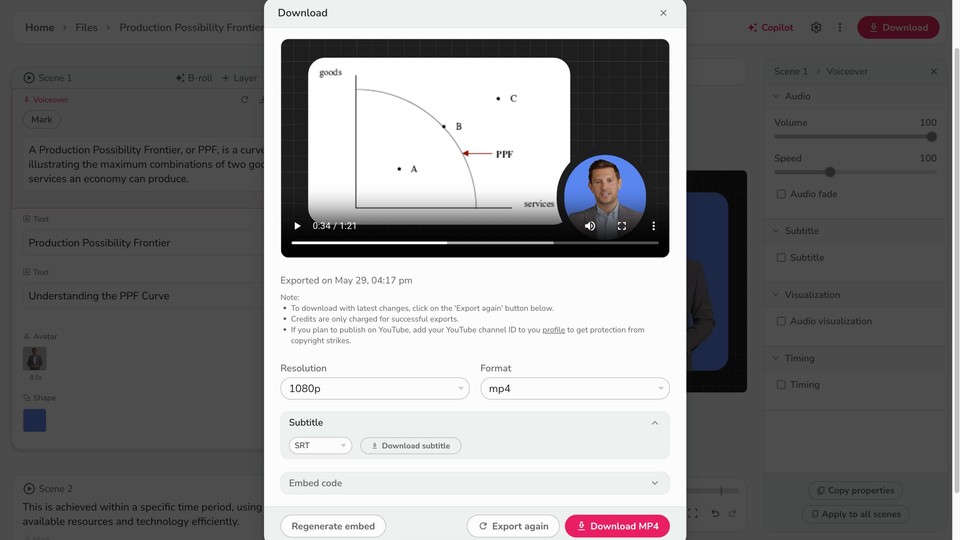
Copy the <iframe> block that appears. Done.

If You’re Using Panopto, YouTube, or Vimeo
Find Share → Embed (look for the paper-airplane or curved arrow icon).
Choose responsive sizing if offered.
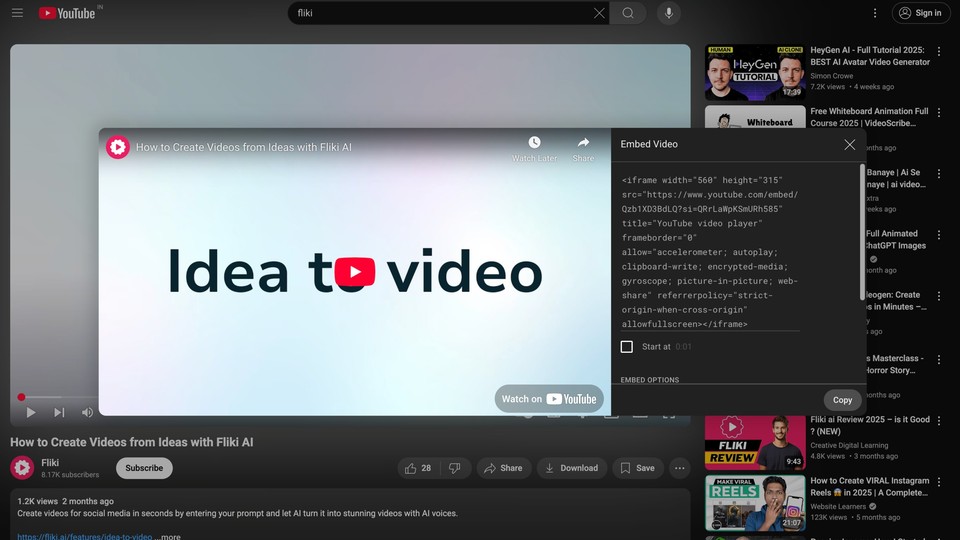
Copy the full <iframe> code; make sure privacy permissions are open enough for students to view.
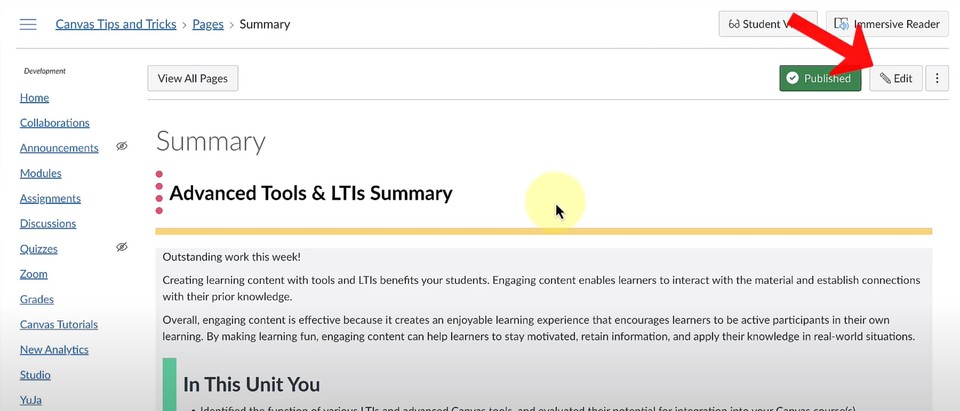
Step 3 - Embed the Video Inside Canvas
Open the page, assignment, or discussion in Canvas and hit Edit.
Place your cursor where the video should appear.
Click the Insert / Edit Media icon in the RCE.
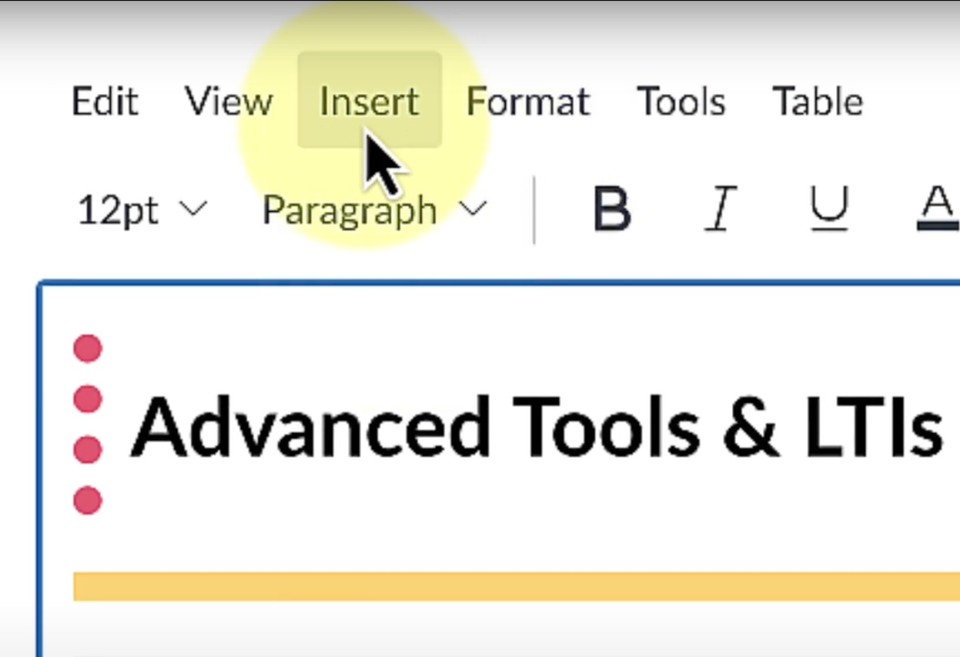
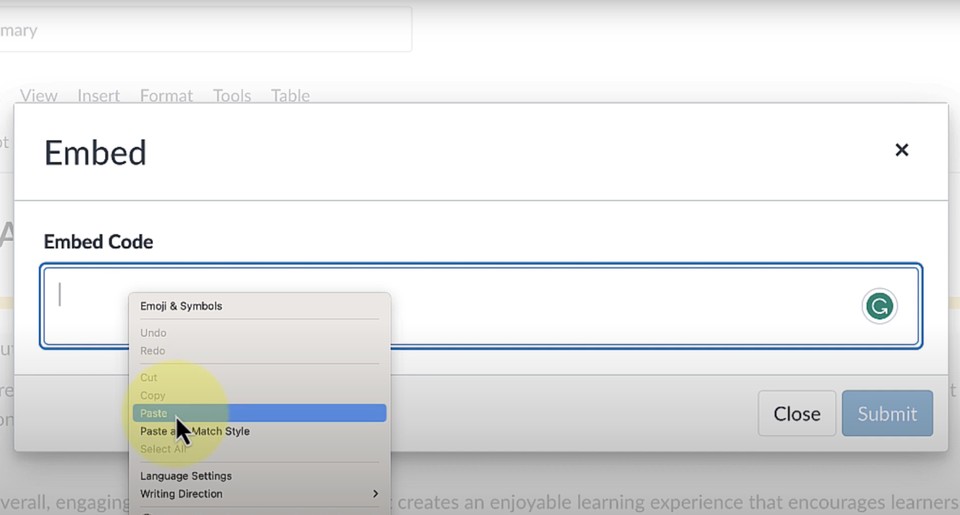
Choose the Embed tab.
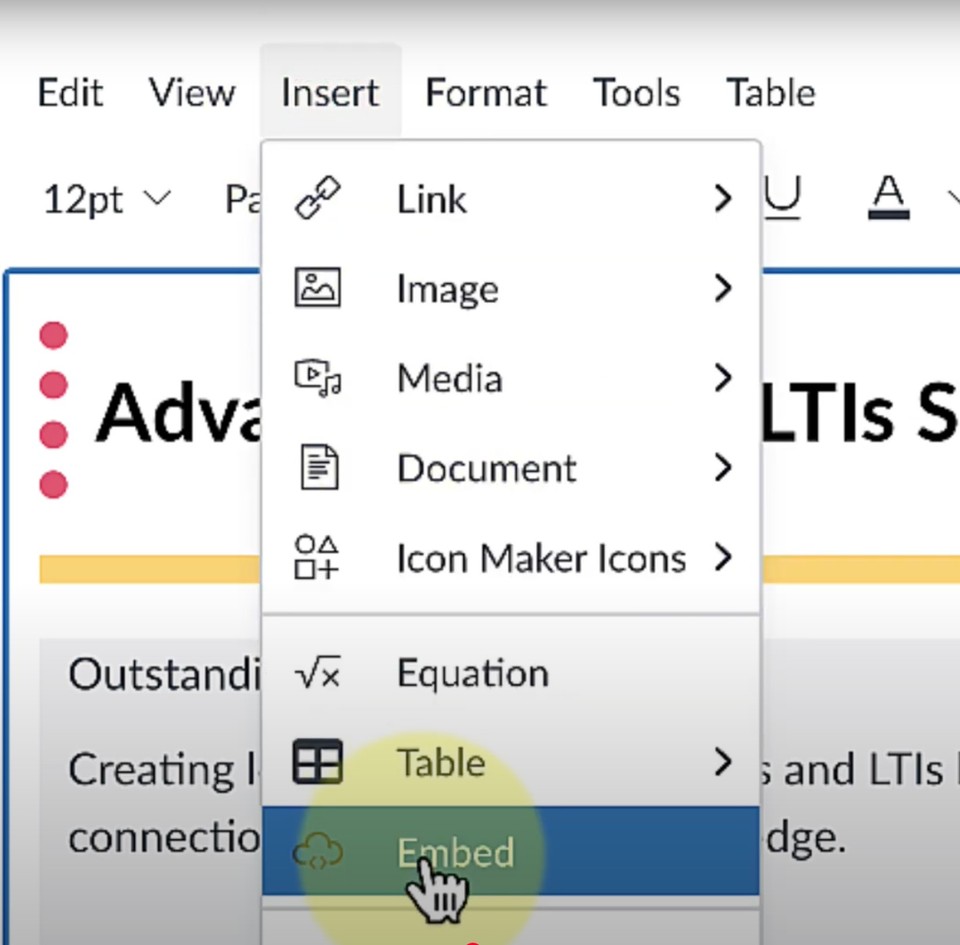
Paste your <iframe> code and click Submit.
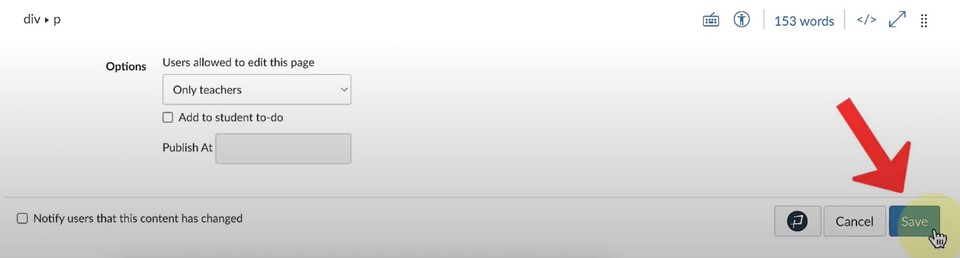
Save (or Save & Publish) the page.
Refresh in Student View to confirm everything loads at normal speed and size.
💡 Still need help? Checkout this video tutorial on how to embed a video in canvas.
Making Sure Every Student Can Actually Use It (Accessibility 101)
Embedding is only half the job. Accessibility is the other half—and yes, Canvas makes it straightforward.
Captions: Download the .srt or .vtt from Fliki, YouTube Studio, or Panopto. If you recorded in Canvas Media Tools, upload a .VTT caption file right after saving.
Alt Text: Inside the RCE, click your embedded video, hit Options, and add a brief description like “Demo of creating AI video in Fliki.”
Playback Speed & Controls: YouTube, Vimeo, Panopto, and Fliki respect user playback controls automatically when embedded.
Not only does this keep you WCAG-compliant, it boosts SEO. Search engines reward pages that offer transcripts and accessible media.
Troubleshooting: The Three Issues That Ruin Your Embed
Blank Rectangle – Usually a privacy mismatch. In Panopto, set Who can access to “Anyone at your organization with the link,” save, then refresh Canvas.
Tiny 200×150 Window – Your <iframe> has fixed dimensions. Swap to width=“100%” height=“auto” or use the host’s responsive embed toggle.
Student Sees “Unavailable” – You pasted a link, not the embed code. Double-check for <iframe> tags.
If all else fails, delete the block, re-copy the code, and embed again. Ninety-nine percent of the time, a fresh paste fixes the phantom.
Key Takeaways
Embedding keeps students inside Canvas and boosts engagement.
Fliki gives you creation + burned-in captions + SRT/VTT + embed code in one pass - ideal for LMS workflows.
Accessibility isn’t optional; captions and alt text help learners and improve SEO.
Ready to try it? Open Canvas in one tab, your video host in another, and follow the steps above. In a quarter hour your course will feel smoother, look more professional, and - best of all - remain distraction-free for your students.
Happy embedding!