Masterclass
Tutorials
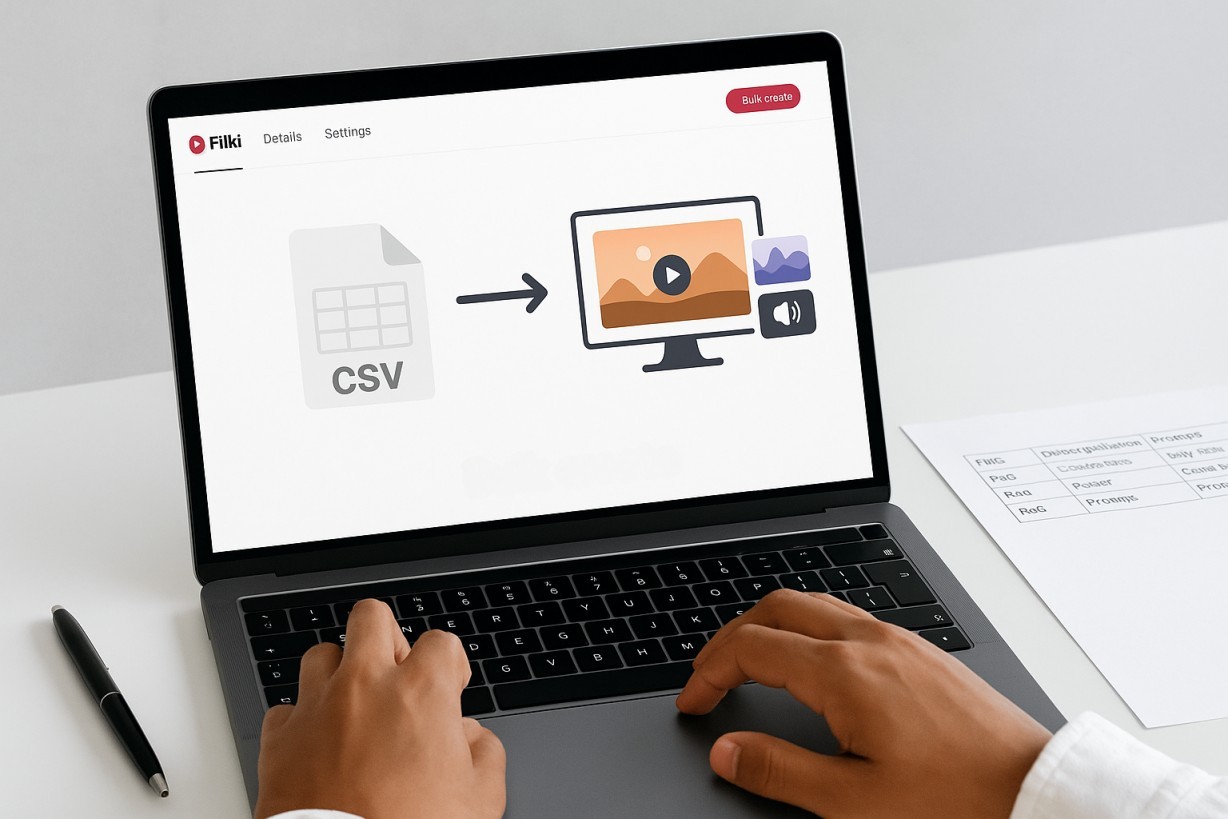
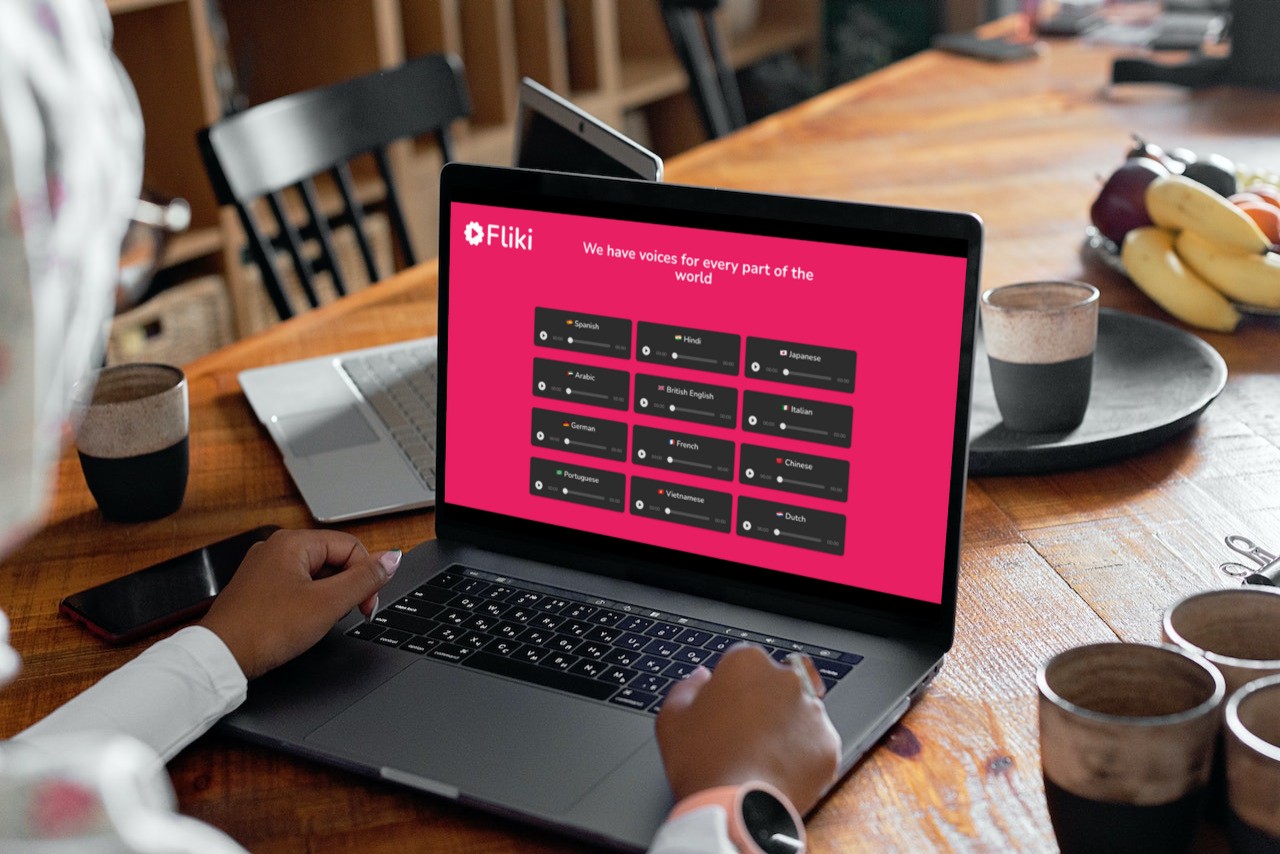
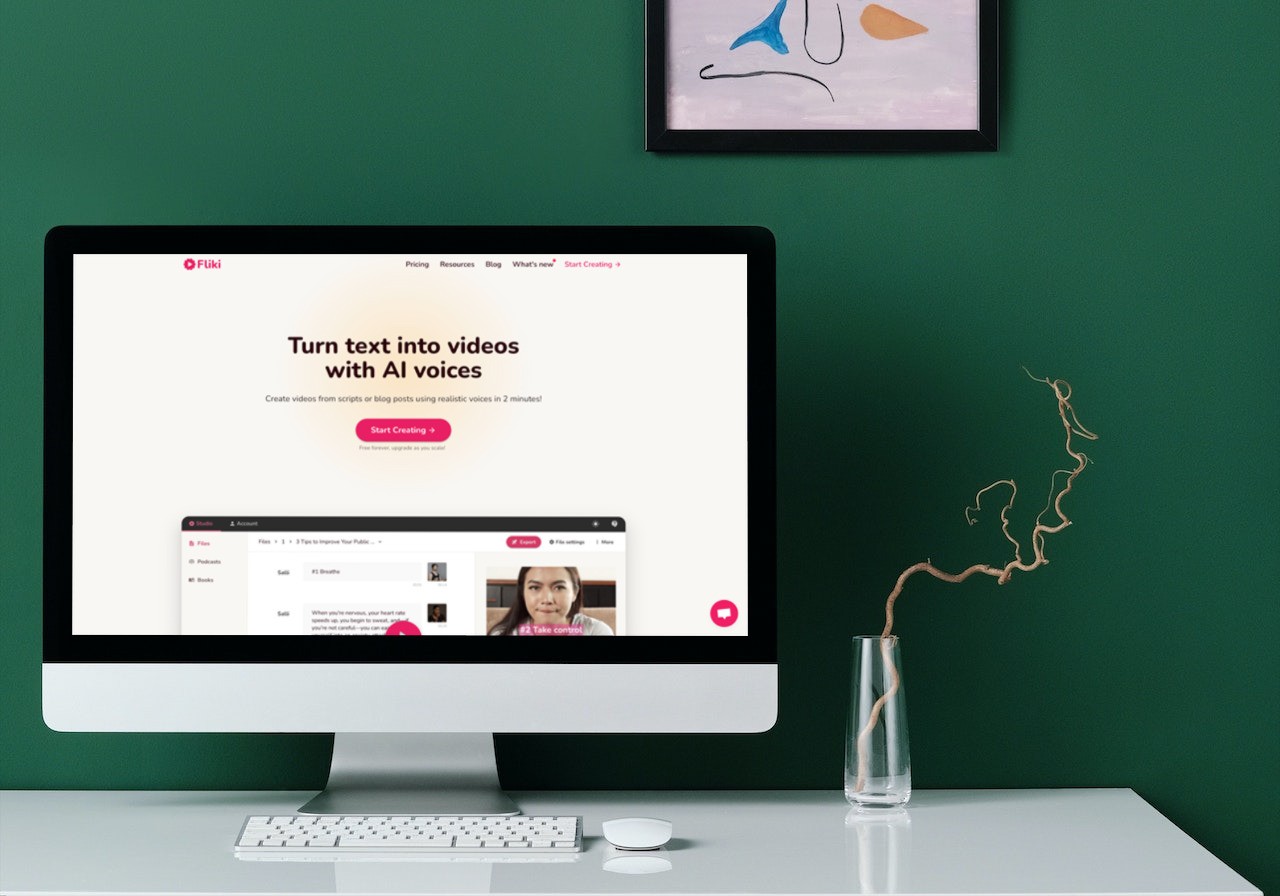
Learn to create AI voiceovers, videos, and podcasts in 80+ languages. Fliki tutorials cover text-to-video, avatars, and credits - start free.


Apply what you learn
Turn your next idea into a video
Free forever plan, 2,000+ voices, 80+ languages. No credit card required.
Start creating freeFree forever plan · No credit card required · Cancel anytime