Create custom templates in Fliki for AI video automation
Looking to supercharge your content creation? With Fliki custom templates, you can design reusable video blueprints that seamlessly work with workflows like Idea to Video, Script to Video, URL to Video, or Bulk Create. These templates let Fliki’s AI auto-generate videos while preserving your design, branding, and layout logic.
Before You Start: Who Is This For?
Custom templates in Fliki are designed for anyone who wants effortless content generation without sacrificing visual consistency or brand identity. Here’s who’ll benefit most:
✅ Businesses & Brands
If you're a business that wants to maintain consistent layouts, colors, fonts, and logos across all videos - custom templates make it easy to automate content creation while staying on-brand.
✅ Content Creators & Influencers
If you're a creator who uses custom-styled subtitles, intro/outro scenes, transition effects, or avatar placements - templates allow you to reuse your best designs with AI-powered content.
✅ Agencies & Video Teams
Need to create multiple client videos with the same structure, but different scripts or topics? Build one powerful template and automate production using Zapier, Make, or Bulk Create workflows.
Now, Let’s walk through the entire process - from marking a file as a template to adding powerful prompts for dynamic AI output.
Step 1: Convert a file to a template
1. Go to Fliki files page
Fliki Files Page: This is where all your created videos live.
2. Click the ⋮ (three-dot menu) beside the video you want to convert
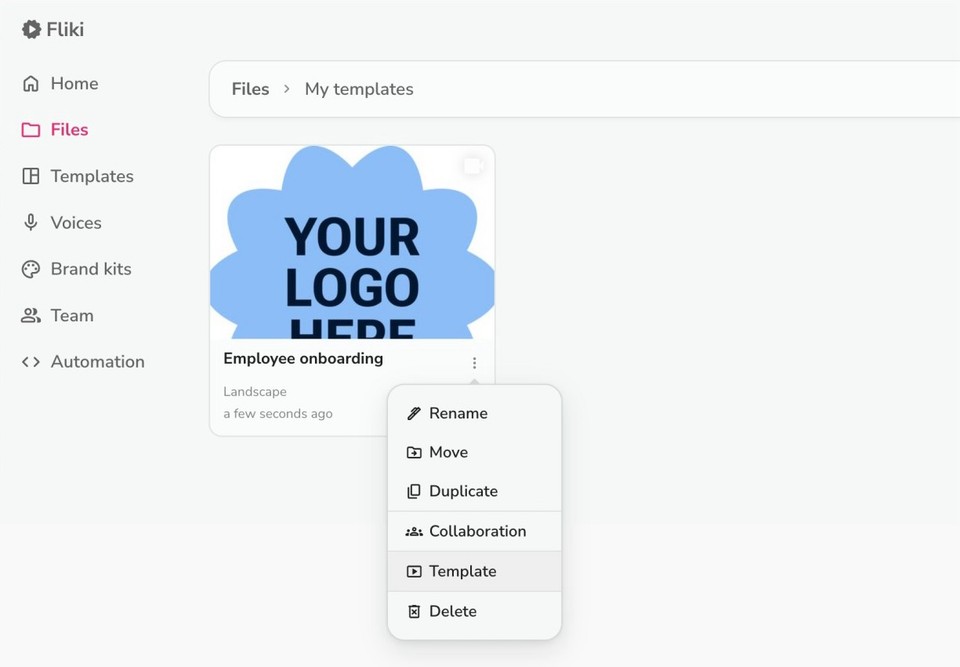
Select “Template” from the dropdown.
Why this matters: Turning a file into a template enables it to be used in Fliki’s automation workflows. Think of it like turning a finished meal into a reusable recipe.
Step 2: Fill template details
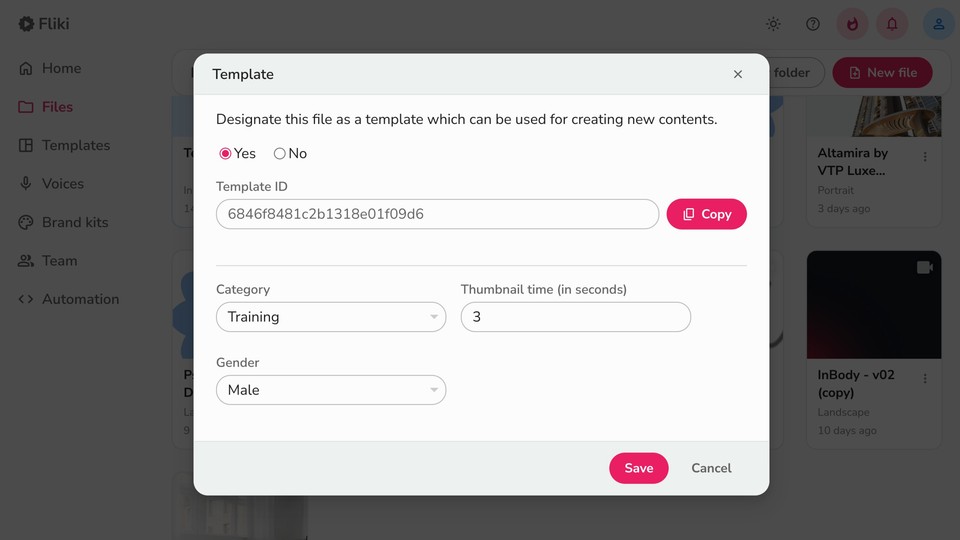
A dialog box opens with the following fields:
1. Enable template mode
Select Yes to mark this file as a template.
Once enabled, you'll see a Template ID - copy this. You'll need it when integrating with:
2. Choose a category
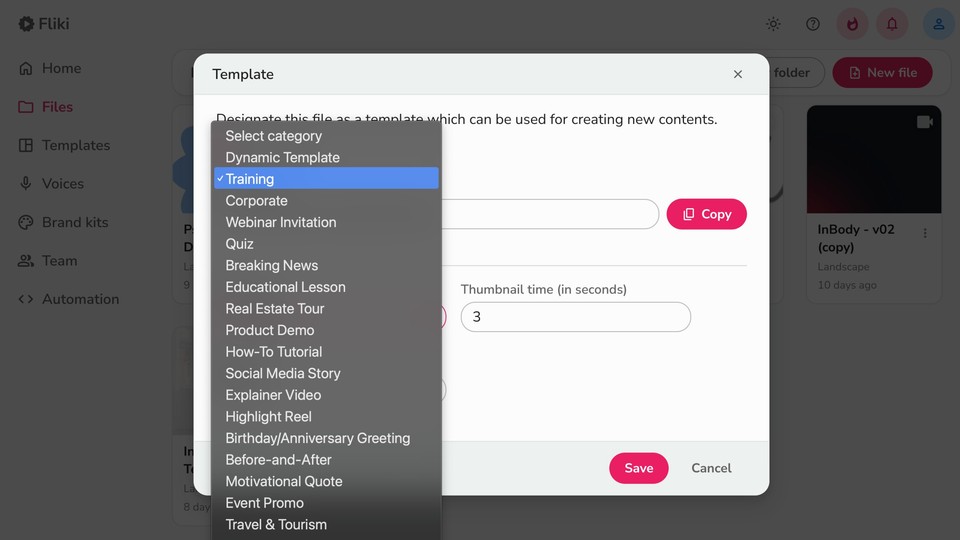
Choose the purpose of the template. Options include:
Product Demo
How-To Tutorial
Explainer Video
Social Media Story
Educational Lesson
...and many more.
Why this matters: Categorization helps you find and manage templates better, especially when your library grows.
3. Set thumbnail time (in seconds)
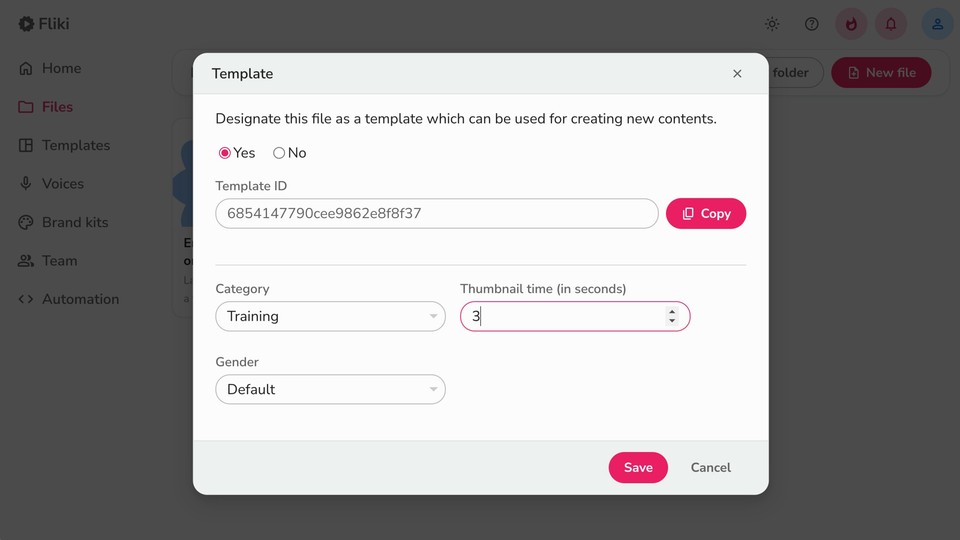
Enter a number like 3 or 5 - this will capture a frame from that second as the thumbnail when using the template in workflows.
Example: If your video has a strong visual at second 3 (like a product image), setting it to “3” will show that as the template preview.
4. Narrator gender
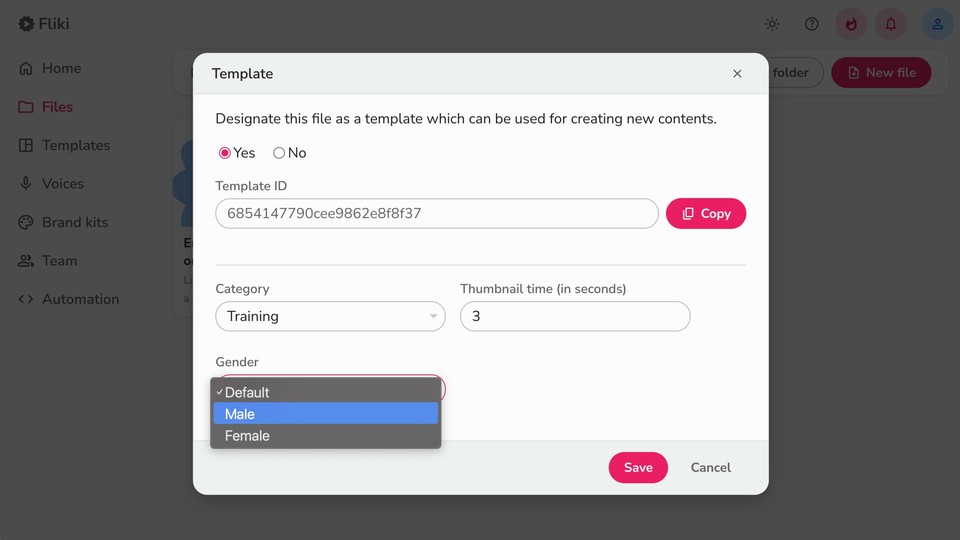
Choose:
Male
Female
Default (lets the workflow decide)
Step 3: Configure scenes for AI
Now that your file is a template, open it and get ready to train the AI by assigning keys and prompts.
Fliki’s AI only uses scenes with keys + prompts. Everything else is ignored in generation.
Understanding "Keys" and "Prompts"
Key: Acts like a label (e.g. intro, body, outro) - helps Fliki know what a scene is for.
Prompt: Explains what kind of content that scene should display or under what conditions it should be used.
Step 4: Add keys and prompts at the scene Level
How to add
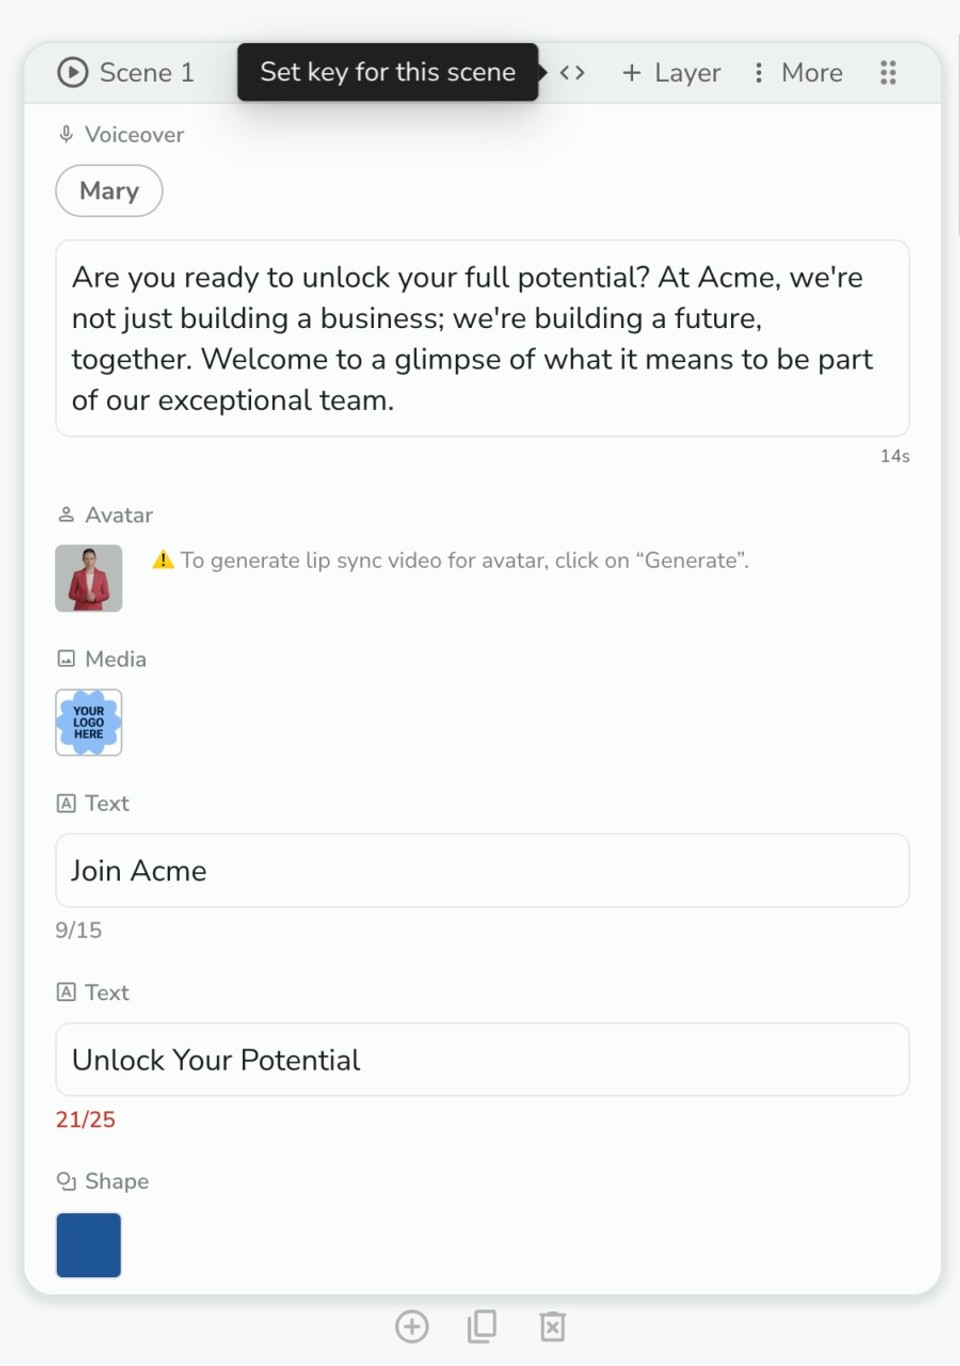
Click on any scene → then click the <> icon beside the scene name.
Recommended key structure:
Key | When to Use |
|---|---|
intro | Always use at the beginning |
body | Use for any repeating or middle section |
outro | Use at the end of the video |
How to write a great prompt
Your prompt should answer:
What does this scene show? (Layout + design)
When should this be used? (Beginning, repeated sections, etc.)
Under what condition should AI pick it? (Like: "Only when 3 points exist")
Prompt examples with explanations:
Example 1:
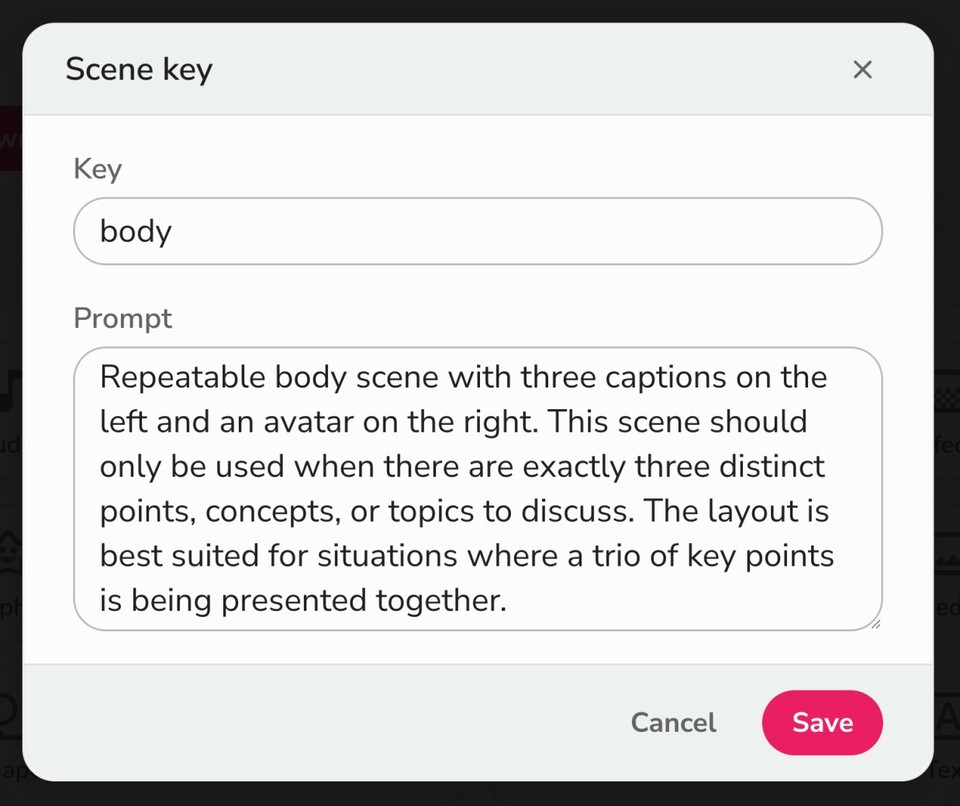
Prompt: Repeatable body scene with three captions on the left and an avatar on the right. This scene should only be used when there are exactly three distinct points, concepts, or topics to discuss. The layout is best suited for situations where a trio of key points is being presented together.
Why it works:
Tells AI this scene is repeatable (body)
Describes the visual design clearly
Adds a conditional rule for usage
Example 2:
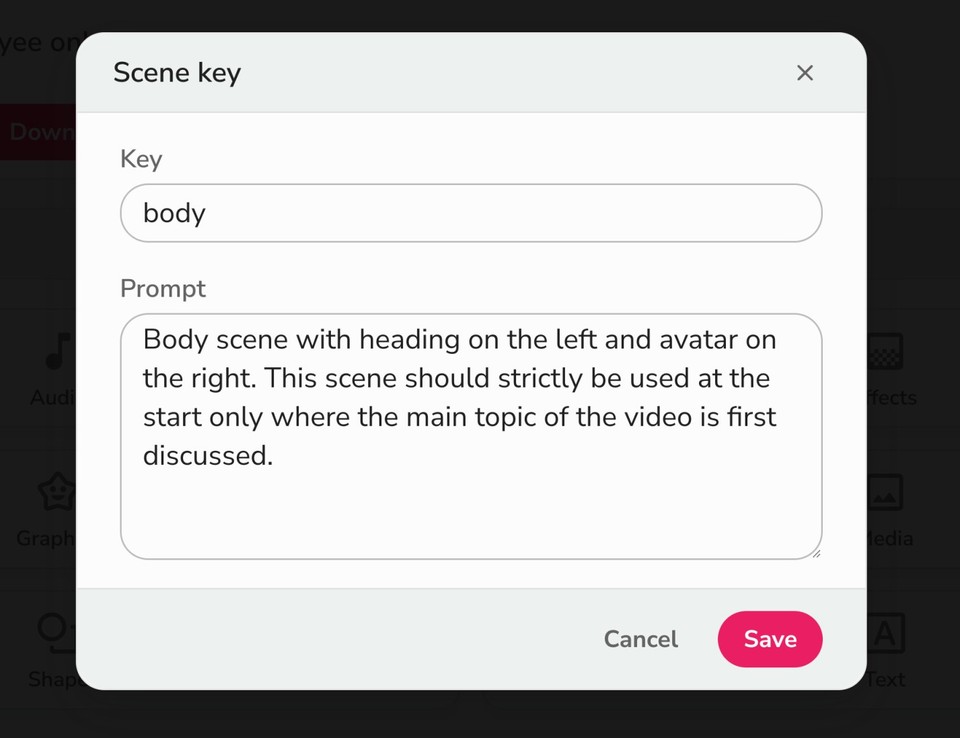
Prompt: Body scene with heading on the left and avatar on the right. This scene should strictly be used at the start only where the main topic of the video is first discussed.
Why it works:
Defines exact layout
Mentions purpose ("main topic introduction")
Restricts use to only the start
Iterate your prompts - if AI keeps misusing a scene, adjust your conditions or clarify what it's for.
Step 5: Add keys and prompts at the layer level
Fliki scenes have layers like:
Audio
Avatar
Media
Text
Shape
Graphic
Voiceover (but only Audio, Graphic, Media, and Text support keys and prompts)
🎧 Audio layer
Used for setting sound effects.
Key | Prompt Example |
|---|---|
sound_effect | "Suggest a sound effect in 2–3 words that best represents the mood or action of this scene." |
🖼️ Graphic layer
Usually used for icons next to text.
If your text layer is card_1, the graphic layer key could be card_1_icon.
Key | Prompt Example |
|---|---|
card_1_icon | "Generate a single keyword that best represents the function of card_1 for icon selection." |
🎥 Media layer
The media layer handles the visual elements (like images or videos) in your scenes. If you want Fliki to automatically generate visuals based on your prompts, you must:
Add a media layer to your template.
Assign a key and a prompt to that media layer.
You do not need to add multiple media layers if you want to have multiple visuals playing sequentially in a scene. Instead, use the B-roll checkbox on the media layer:
When checked, the AI will automatically insert multiple sequential visuals within that media layer (based on your prompt), if the scene duration allows.
Key & prompt setup:
Key | Prompt Example |
|---|---|
video | "Related video" |
🧩 B-Roll option:
When checked, AI will insert multiple visuals if scene duration allows:
Scene Length | Media Count (with B-Roll) |
|---|---|
3–7 sec | 1 media |
10–18 sec | 2 media |
15+ sec | 3 media |
If unchecked, Fliki uses only 1 media, regardless of length.
🔒 Want to lock the visual?
Don't set any key or prompt - Fliki will reuse what's already there.
✍️ Text layer
Field | Example |
|---|---|
Key | heading |
Max Length | 50 |
Prompt | "Generate a short, clear heading that summarizes this scene’s main point" |
Setting a max length ensures readability and fits your layout.
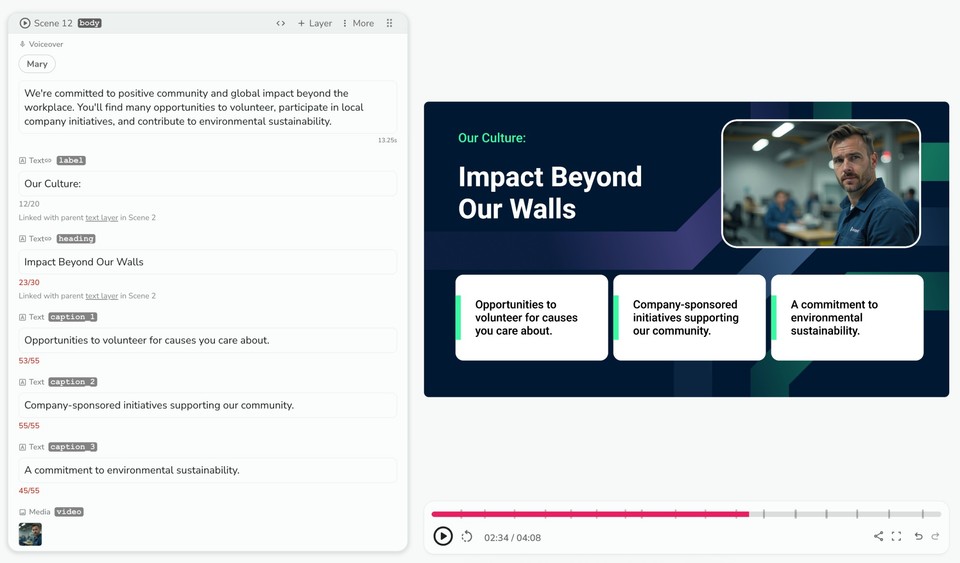
Checkout and example scene with keys and prompts set for each relevant layer.
Step 6: Test & iterate
Export the template once to activate thumbnail previews
Click Download > Start Export
Now it will show a proper thumbnail in workflows
Use it in a workflow like:
Bulk Create (CSV)
Zapier / Make automations
Idea/Script to Video
Review the results
Did AI skip scenes? Maybe some don’t have keys
Did a prompt cause repetition? Adjust prompt conditions
Does a scene feel out of place? Reassign keys (body, intro, etc.)
Common mistakes to avoid
Mistake | Fix |
|---|---|
Setting keys on duplicate scenes | Only tag unique layouts |
Forgetting to export template | Always export once after saving as template |
Vague prompts | Add layout details + usage conditions |
Skipping prompts for media layer | Add keys and prompts for AI to pick/ generate visuals. |
Final tips
Start small -3-5 scenes is enough to begin testing.
Use descriptive keys - stick to a consistent system like intro, body, outro.
Refine your prompts - after seeing the AI output.
Only add prompts where needed - default content will stay as-is if left untouched.
With Fliki’s custom templates, you don’t just create one video - you create an AI-powered production system that scales with your creativity.
