One can argue that you only need your phone to shoot, edit, and upload Youtube videos.
Sure, it can get the job done but probably not a pretty one!
Youtube content creation has greatly evolved over the years. Now, no one wants a blurry video with unclear voices.
So, without getting ahead of ourselves, let’s check out some affordable equipment to start a YouTube channel.
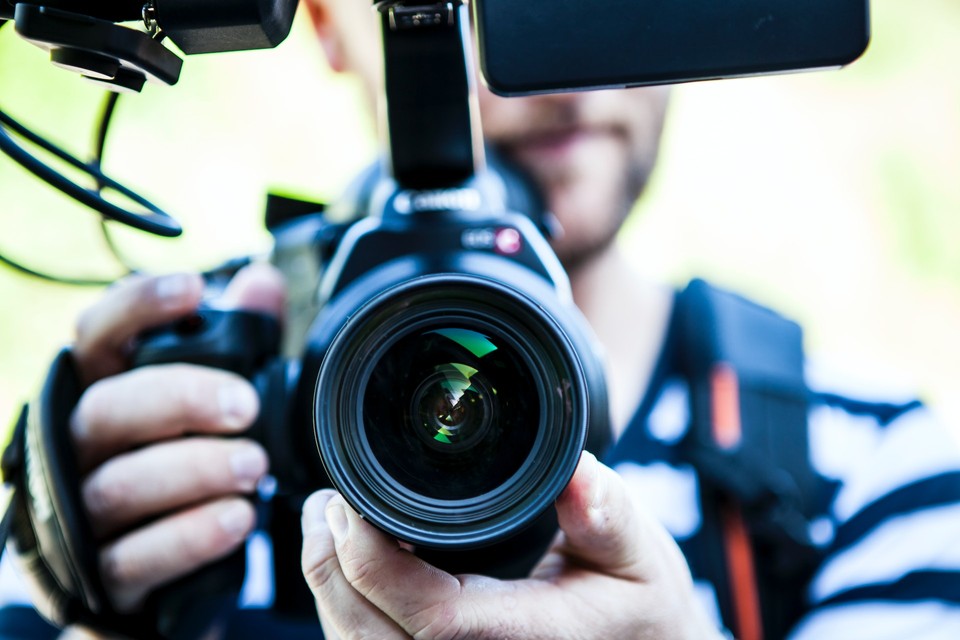
Equipment for Starting a Youtube Channel
1. Camera
Looking for the best camera for your videos?
Whether it's a webcam for game streams or a DSLR for capturing beauty and lifestyle hacks, you need different cameras depending on the purpose.
Here’s a handpicked list of cameras that you can use:
Phone Camera
If you’re still testing the idea of becoming a Youtuber, you might want to hold back on buying a dedicated camera just yet.
For instance, Youtuber Janielle Eliana used her iPhone X to capture and edit her videos and get 1.6M subscribers in just 1 month.
You probably have your camera lying around while you’re going through this article. And that’s your most affordable equipment right there!
Simply, hit the start button and start recording your next YouTube video.
Fun fact: You can even use your phone to edit your videos on the go.
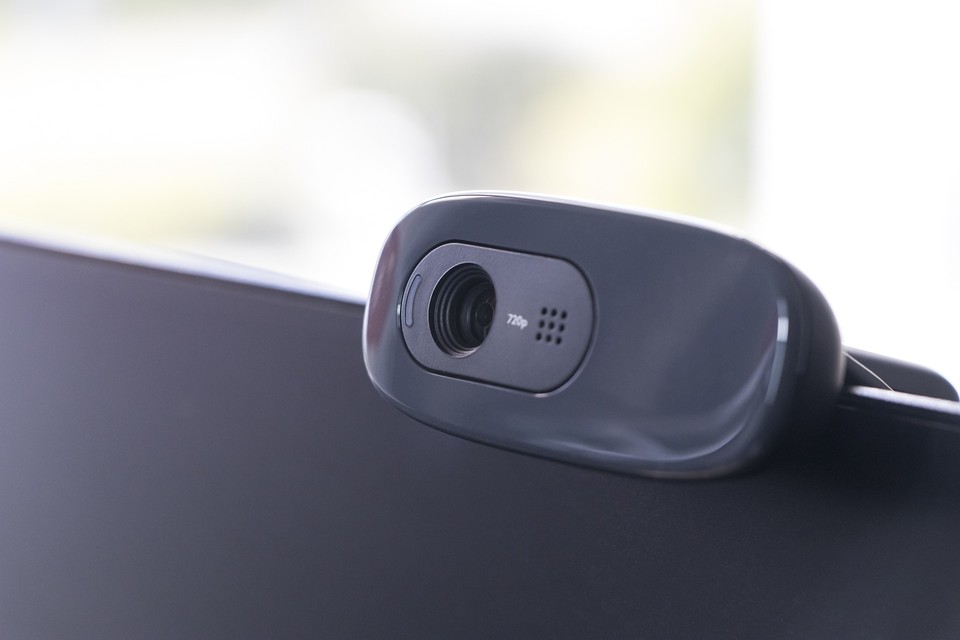
Webcam
Just like your phone camera you can even use your webcam to shoot your videos.
If you have a gaming channel or you record videos in front of the computer then it can be an ideal choice. Moreover, webcams also make live streaming easier as it supports plug-and-play.
Our suggestions:
Logitech C920s HD Pro Webcam ($69.99): Offers 1080p at 30 fps to 720p at 30fps + 3 megapixel camera lens + autofocus.
Razer Kiyo ($99.99): Offers 720p at 60 fps + full camera controls + ring light
DSLR
Depending on the model, a DSLR can record video quality from 1080p to 4K.
Pick a DSLR if you’re looking for:
-
High-quality results.
-
Low-light adaptability.
-
Polished video recording quality.
But on the downside, these cameras can be pricey.
Some popular DSLRs include:
Nikon D3400 ($499.95): Offers 24.2 million pixels + various storage media + 3.0 inches monitor size.
Canon EOS Rebel SL3 ($649.99): Includes 24.1 megapixel CMOS (APS-C) sensor + 4K video and 4K time-lapse movie + dual pixel CMOS AF with eye detection AF
GoPro
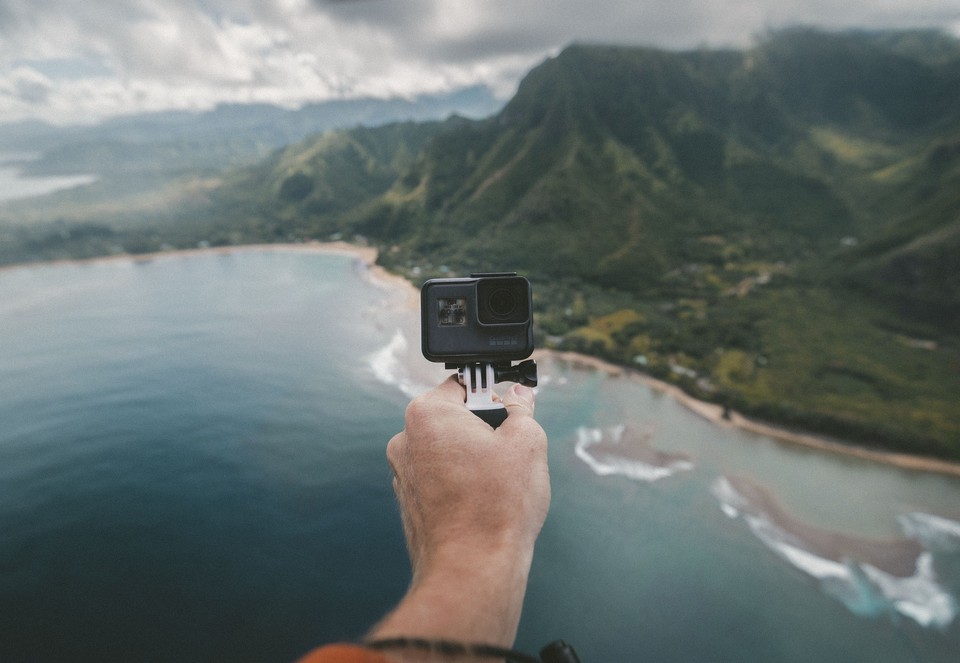
If Parkour is what inspired you to start your own Youtube channel then a handy tool called GoPro is all you need.
Action cameras like GoPro help you record activities that involve fast-paced activities like cycling, skateboarding, skiing, and more.
Check out GoPro Hero10 Black ($449.99) which offers 5.3K at 60fps and 4K at 120fps video resolution, 23-megapixel photos, and HyperSmooth 4.0 video stabilization.
These cameras are among the best equipment for YouTube videos, especially for those prioritizing high-quality visuals in their content
2. Microphone
In this recipe for video creation, an external microphone is an essential element.
Additionally, if you’re creating tutorial videos, podcasts, or recording music, this can help you convey your thoughts in a clear and crisp voice.
Here’s a quick look at some microphones:
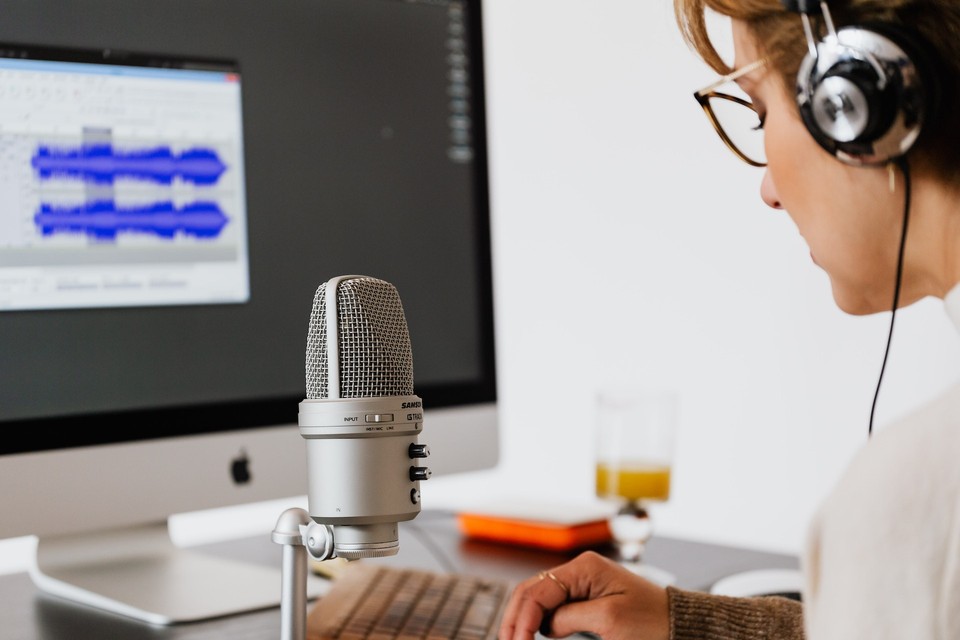
USB Microphone
USB microphones are great for those on a budget. Plus, it doesn’t require an audio interface, mic stand, or preamp and still offers incredible voice output.
Lapel Mic
Also known as a lavalier microphone, this wireless mic is ideal for interviews, workshop videos, and conversational vlogging.
Shotgun Microphone
Shotgun microphones pick up sound that's directly in front of them and reduce background noise – offering the best possible audio quality.
Alternatively, you can convert your audio to opus (a high-quality audio codec that can produce better sound).
Or you can leave the hassle of recording behind by using Fliki, a Text-To-Speech solution with lifelike AI voices.
You can drop the whole idea of using your own voice and still create amazing videos with AI tools.
It can be helpful if:
-
You’re conscious of your voice.
-
Your voice lacks the clarity that your audience wants.
-
You have an accent difficult to understand.
-
You can’t find a quiet place to record your videos.
What’s Fliki?
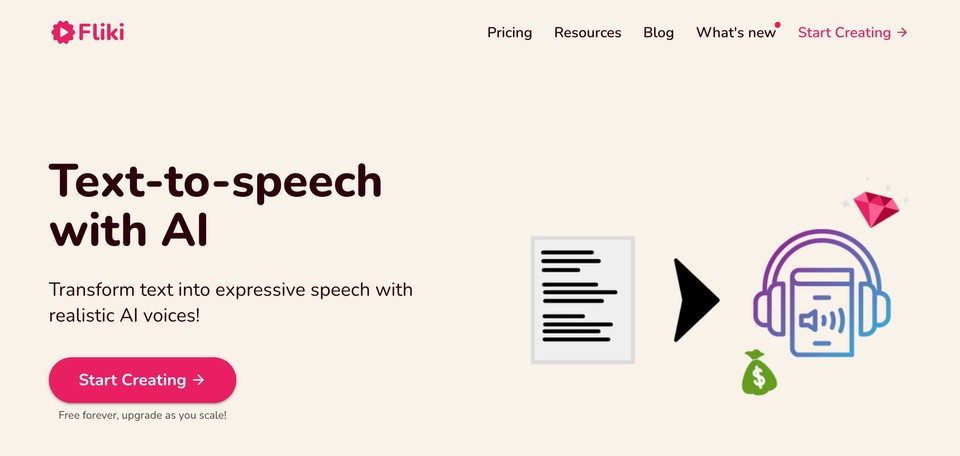
Fliki is a lifelike text-to-speech and text-to-video converter that helps you create audio and video content using AI voices in less than a minute.
Let’s check out some of its powerful features:
-
Voices: Choose from over 800 high-quality voices.
-
Languages: Create audio and videos in 75+ languages and 100+ dialects including English, Spanish, and Japanese.
-
Voice styles: Choose emotions like cheerful, hopeful, sad, angry and more.
-
Voice controls: Control the voice speed, and pitch and add pauses easily.
Explore more features here.
3. Camera Stabilizer
Piling up some books to use as a stand is probably the oldest trick in the DIY book.
And while this serves its purpose (if you’re starting out), it can become tricky if your video involves moving around your setup area.
What can you do?
Let’s find out.
Tripod Stand
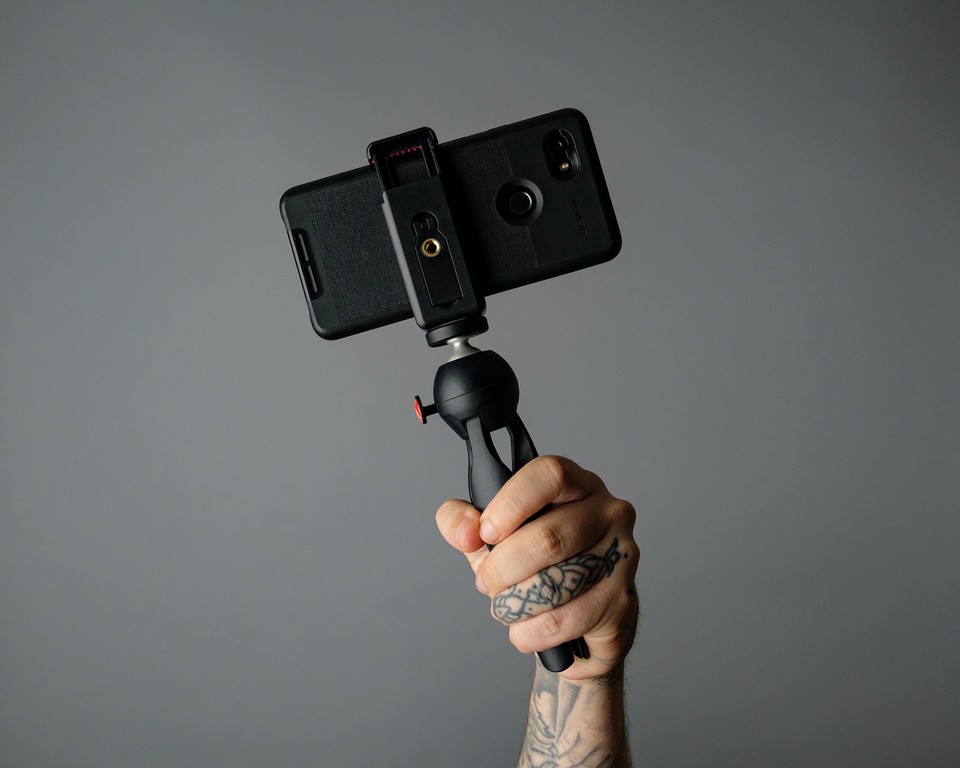
If you’re using your phone camera then you can get a dedicated smartphone tripod.
And for all other gadgets like camcorders or DSLR cameras, a tripod is the answer to all problems related to blurry and shaky shots.
Moreover, this saves a lot of time that could’ve otherwise been spent on deleting, editing, and stabilizing blurry shots.
But remember, you need to look for something reasonably heavier than your camera to avoid the whole set-up toppling over.
Some Tripods you can try:
Gorilla Pod Tripod ($45)
Velbon Sherpa 200R ($129)
Gimbal
If your Youtube channel is about outdoor sports or involves a lot of action shots then a gimbal is your go-to equipment.
A gimbal is a mechanical stabilizer that minimizes camera movements in order to produce clear and stable dynamic clips.
A few popular gimbal stabilizers are:
DJI Osmo Mobile 6 ($159): Includes 3-axis stabilization + built-in extension rod + ActiveTrack 5.0 functionality.
Zhiyun Smooth X ($59.99): Includes 2-axis stabilization + 10 to 20" selfie stick extension + horizontal & vertical orientation
4. Lighting
If you’re mainly recording indoors or in dimly lit areas, good lighting can take your video to the next level.
An ideal video setup needs ample ambient light. The solutions discussed will help out to light up the scene, even out uneven brightness and bring out colors for a better end product.
You can use a softbox, umbrella light, ring lights, or an on-camera light. The choice is yours!
Softbox
A softbox is the most affordable way to enhance your videos. It comes with a white diffusion panel that emulates natural and soft lighting from a bulb – without producing intensified shadows on the object.
Try CLAR SoftBox ($49.95)
Umbrella Light
An umbrella light is another great piece of equipment if you’re looking for an inexpensive soft lighting option.
Umbrella lights can turn directional lights into diffused lights, removing sharp shadow lines from the object.
Ringlight
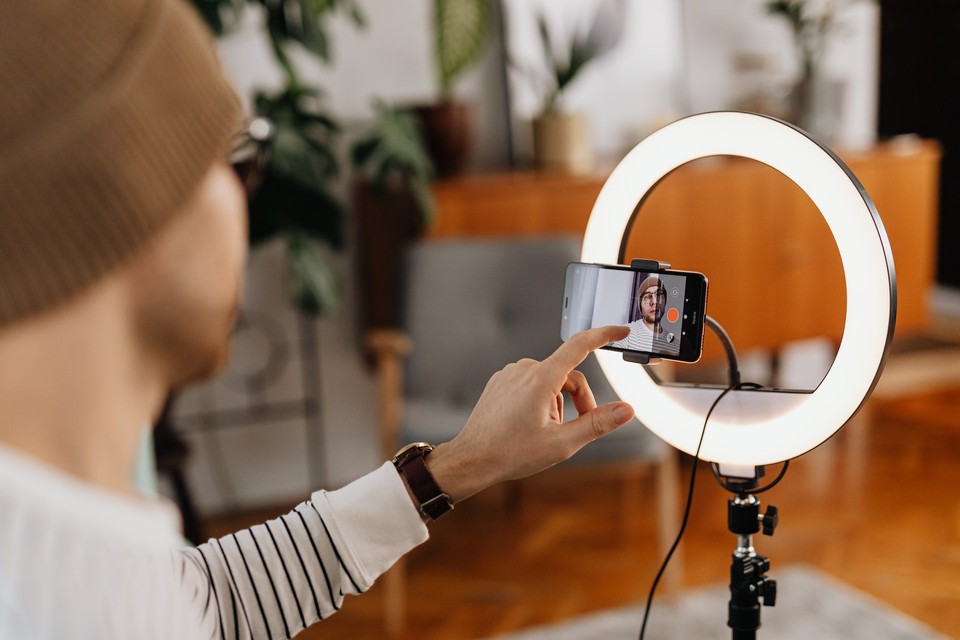
Ringlight is a popular gear used by vloggers. Due to its shape, it emits light all around the object, reducing shadows from all directions.
Sorta like that “sunkissed effect”.
Here are some ring lights you can consider:
UBeesize 12” Ring Light ($30-$60).
Cyezcor Video Conference Ring Light ($10-$50).
Flashpoint 55W Dimmable LED Ring Light ($99.95).
On-Camera Light
On-camera lights offer continuous lighting.
And the best part? You can mount it on cameras.
On-camera lighting can be great for recording wedding videos, documentaries, or dimly-lit ambiances in general.
Check out iKan iLED-MA Micro Flood Light ($29.99).
5. Background
A good background adds that extra spice to your videos – enhancing them visually.
However, you don’t necessarily need a fancy green background to produce quality content.
The idea is to keep it simple!
Here’s what you can do:
-
Pick a simple wall in your house.
-
Add frames, postcards, and plants to enhance it.
-
Set up fairy lights or colored LED lights.
-
Add lamps like sunset lamps.
Alternatively, you can use sheets of various colors for added variety or to go with the theme of your video.
So, if you’ve been planning on changing that dull wall, now is the time to hit those Pinterest boards for some inspiration! ✨
6. Video Editing Tool
Editing your final piece can create a lot of difference.
You can remove imperfect shots, pauses, or awkward moments. You can even add background music, memes, and dramatic effects.
Video editing software can help you add jump cuts, change the camera angle, and do other jump cuts, without breaking the flow of the video.
But remember, video editing can take some time to perfect.
That’s why, for starters, we suggest some free software like Windows Movie Maker, iMovie, or YouTube video editor.
Once you’ve mastered this skill, you can move on to tools such as:
Adobe Premiere Elements
Apple Final Cut Pro
Sony Vegas
Davinci Resolve
Corel VideoStudio
Conclusion: Equip yourself with the best equipment for YouTube videos!
From travel vlogging and makeup tutorials to cooking and action shots, great gear can make Youtube content creation easy and fun.
Just go through the list of tools we’ve mentioned above and pick the one that suits you best.
And while each piece of equipment has its pros, with Fliki and its life-like text-to-speech module content creation can become easier.
Fliki supports 2000+ realistic AI voices, 75+ languages, 100 dialects, various emotions and a lot more – accessible to anyone for free, forever.
So, what are you waiting for? Sign up for Fliki today!
FAQs
Depending on your content niche and budget, you can choose from options ranging from using your smartphone camera and built-in microphone to investing in DSLRs, external microphones, tripods, softboxes, and more.
The equipment cost for starting a YouTube channel can vary depending on your needs. You can start with minimal investment using equipment you already have, such as a smartphone camera and a built-in microphone.
To start your YouTube channel, you'll need basic equipment, such as a camera (smartphone, webcam, DSLR, or action camera), microphone (USB, lapel, or shotgun), camera stabilizer (tripod or gimbal), lighting (softbox, umbrella light, or ring light), and a background setup.
The amount of money you need to start a YouTube channel depends on the equipment and resources you choose to invest in. You can start with minimal expenses by using equipment you already own, such as a smartphone and basic lighting.

