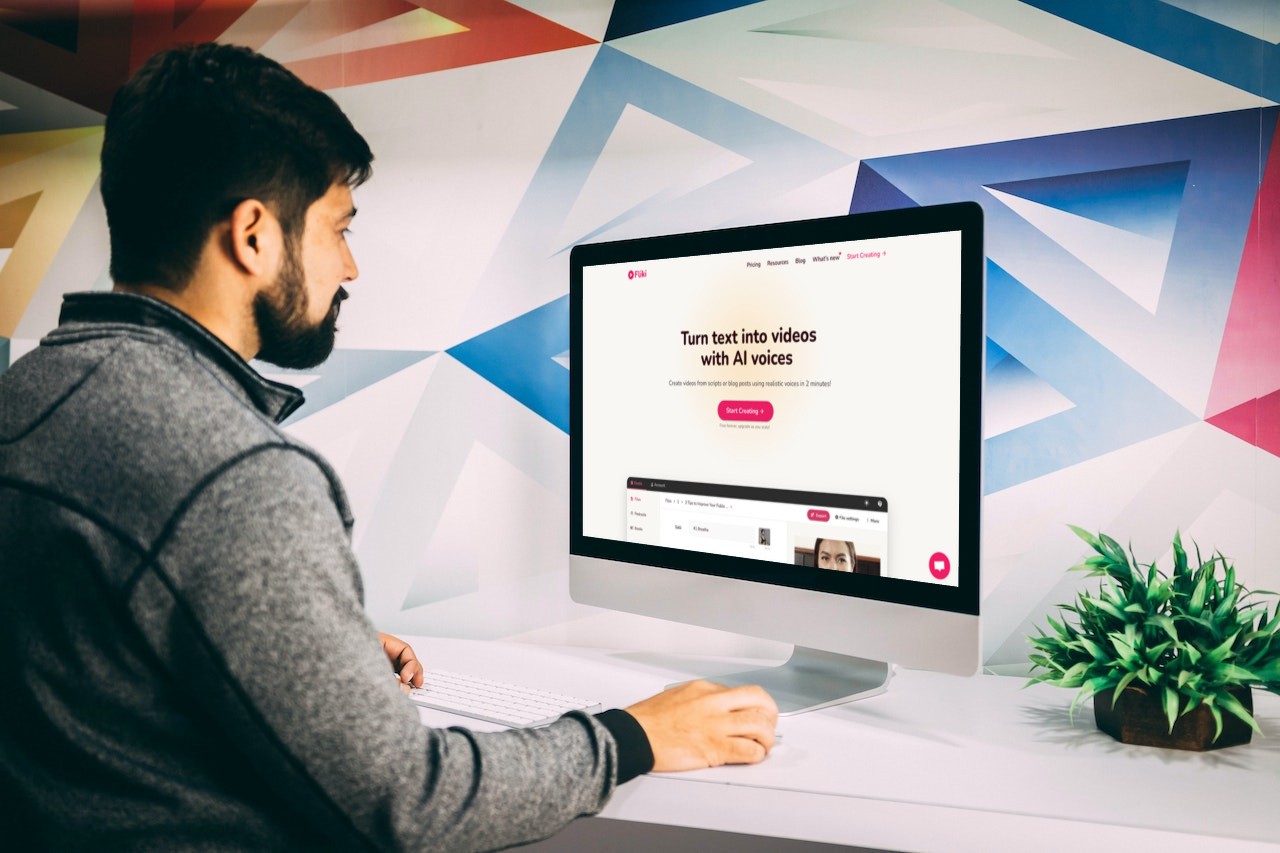
Convert idea to video
Create an entire video with rich visuals and voiceover in less than a minute by describing your idea in just a few words.
Step 1 - Create a video file
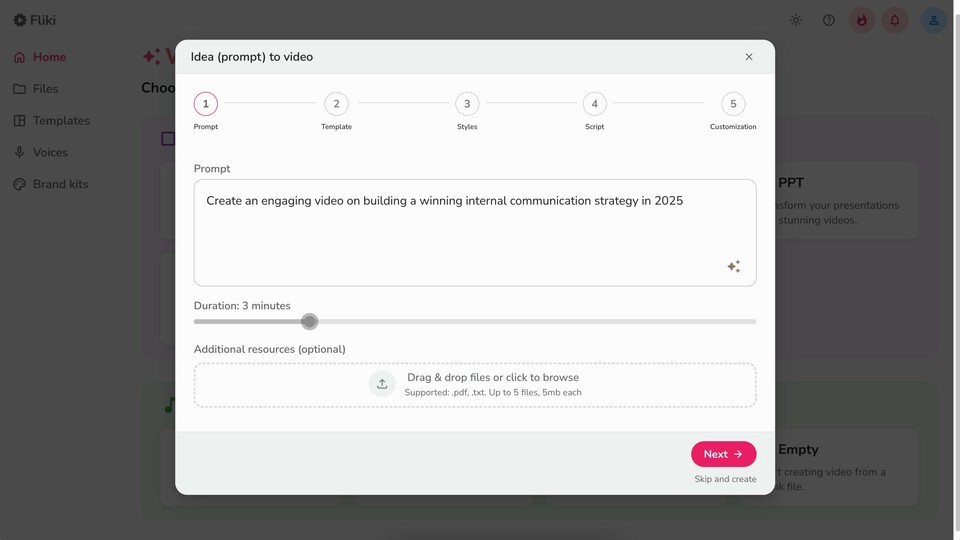
Select the Idea option under the video section.
In the Idea box, write down your concept or brief.
Choose the desired video length and upload any reference materials if available.
Click Next to continue.
Step 2 - Select aspect ratio & template
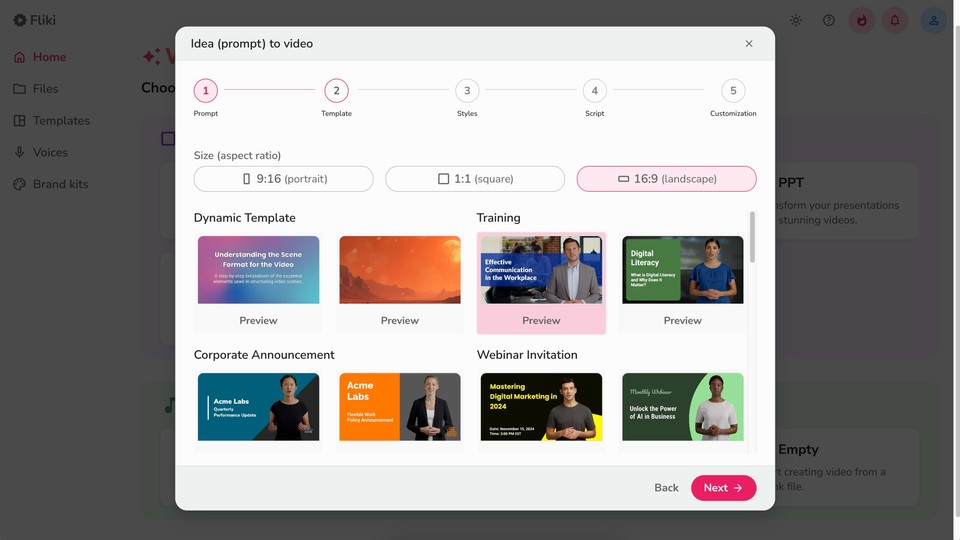
Choose from landscape, portrait, or square aspect ratios.
Select a video template that best suits your content.
Alternatively, choose Auto Layout to let AI generate unique layouts for you.
Click Next to proceed.
Step 3 - Choose language & personalization options
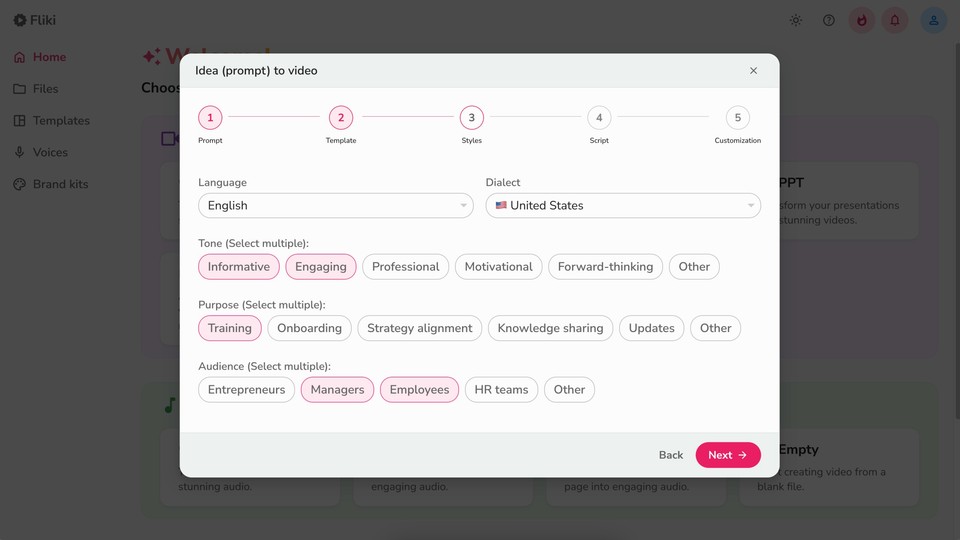
Select your preferred language (80+ available options)and dialect.
Specify the tone, purpose, and target audience for a more personalized video.
Click Next once your selections are finalized.
Step 4 - Review & edit script
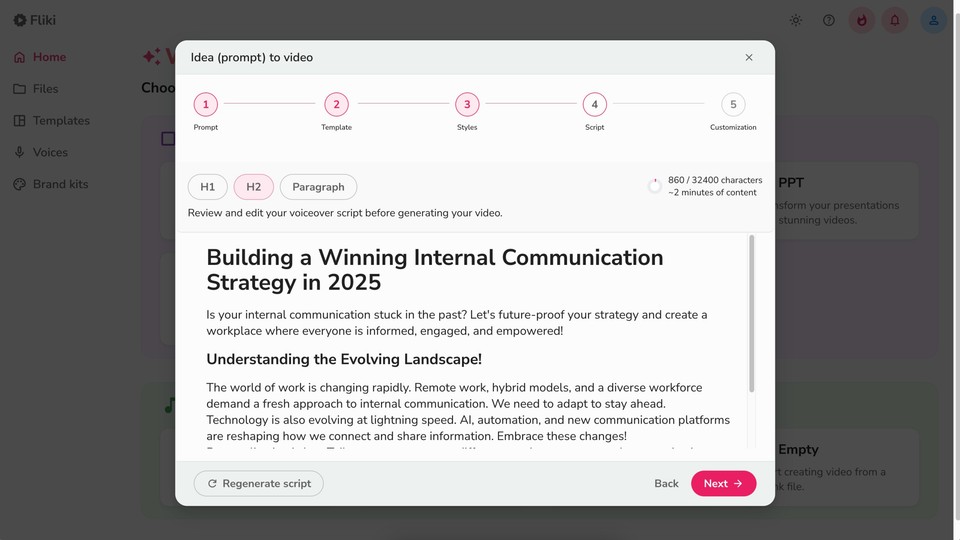
Fliki will generate a script based on your idea.
Review the script and make necessary edits for accuracy and tone.
Click Next to move forward.
Step 5 - Select media type
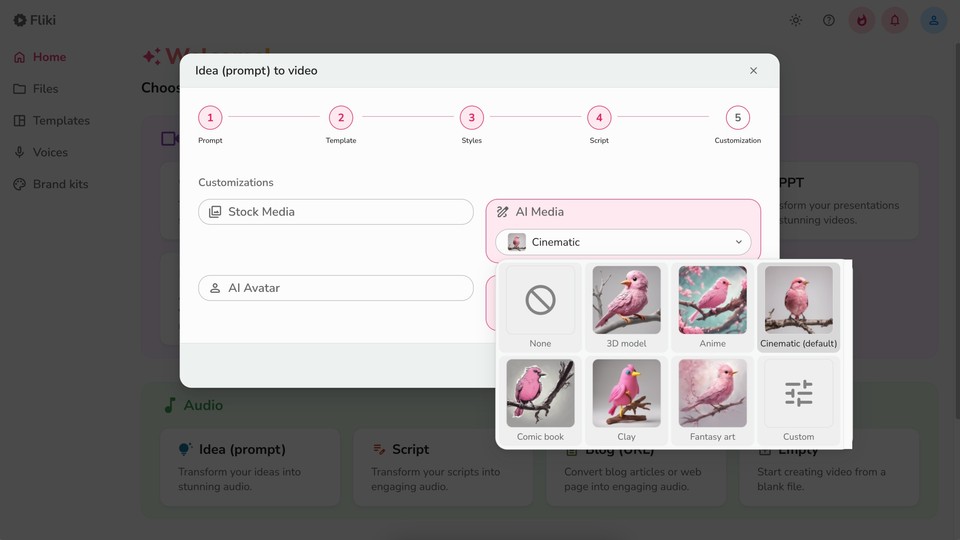
Choose between:
Stock media
AI media
If selecting AI media, choose from styles like: 3D Model, Anime, Cinematic, Comic Book, etc.
Click Next to continue.
Step 6 - Customize AI Avatar & Voiceover
Select AI avatar

Click on the Avatar icon.
Filter avatars by gender.
Hover over an avatar to preview it.
Double-click to select your preferred avatar.
Select AI voiceover
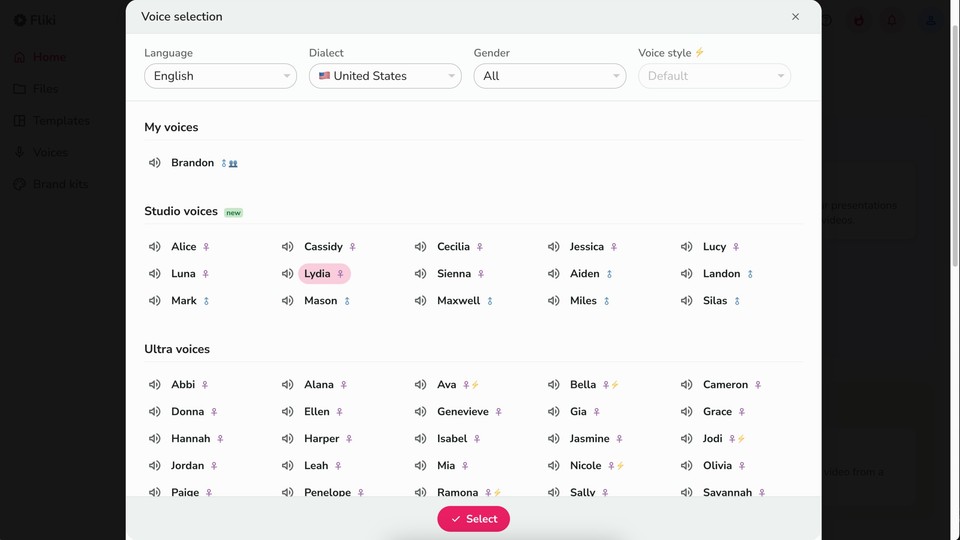
Click on the voice name.
Filter voices by language, dialect, and gender.
Click the speaker icon to listen to voice samples.
Double-click to select a voice.
Click Submit to finalize. Fliki will generate the video based on your idea and selections.
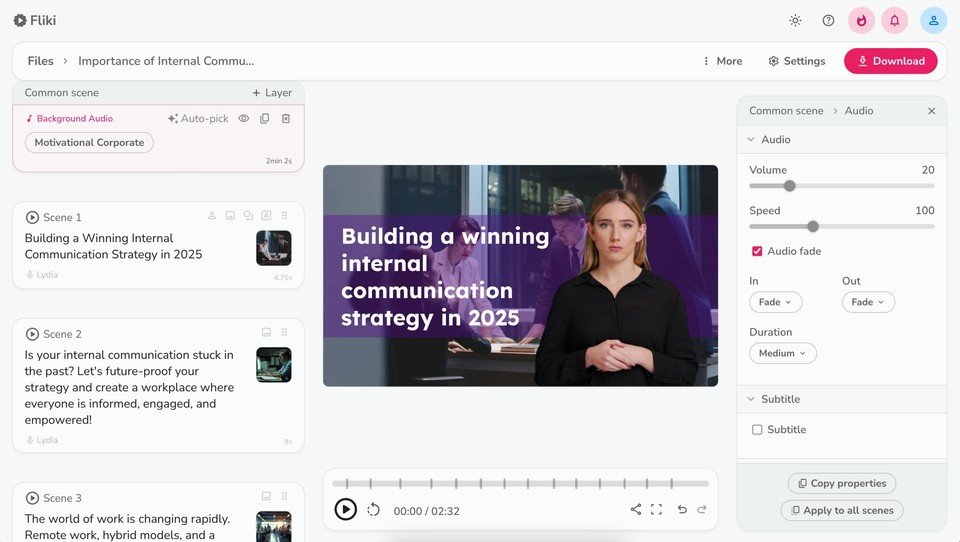
Step 7 - Customize background music & watermark
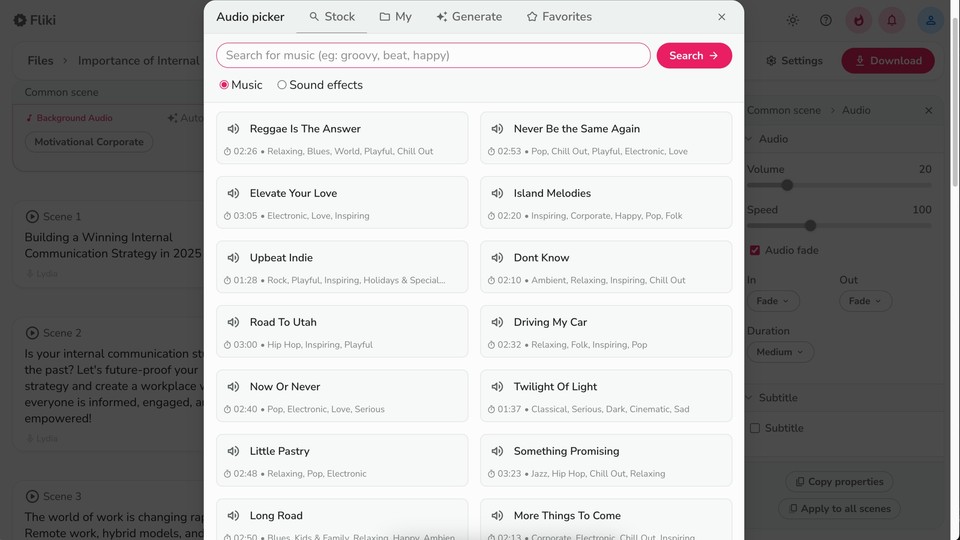
Click Choose File under the background audio layer to upload or change background music.
Adjust the volume and speed from the customization panel.
Add your logo as a watermark by selecting Add Layer > Watermark in the common scene.
Upload your logo and adjust its size, position, and opacity from the right panel.
Step 8 - Export & download video
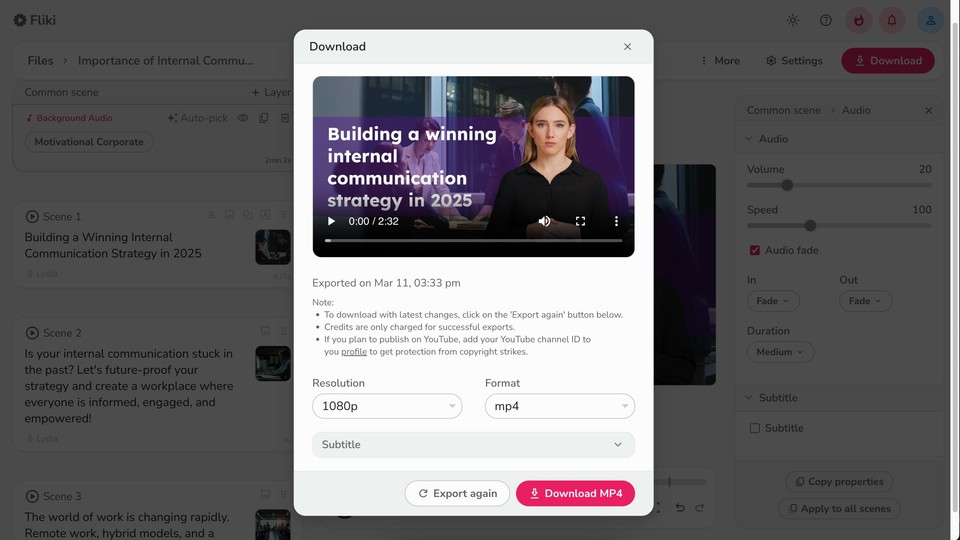
Click Download, then Start Export to generate and save your video in MP4 format.
With Fliki’s Idea-to-Video workflow, creating compelling videos from scratch has never been easier. Try it today and bring your ideas to life effortlessly!