Blog
Tips and tricks, industry knowledge, user stories and more.
Top Stories
New YouTube Monetization Requirements in 2025
Posted on Fri, June 16, 2023

How to Make AI Videos in 2025
Posted on Tue, February 20, 2024

How to Create Training Videos with AI in 2025
Posted on Fri, June 14, 2024

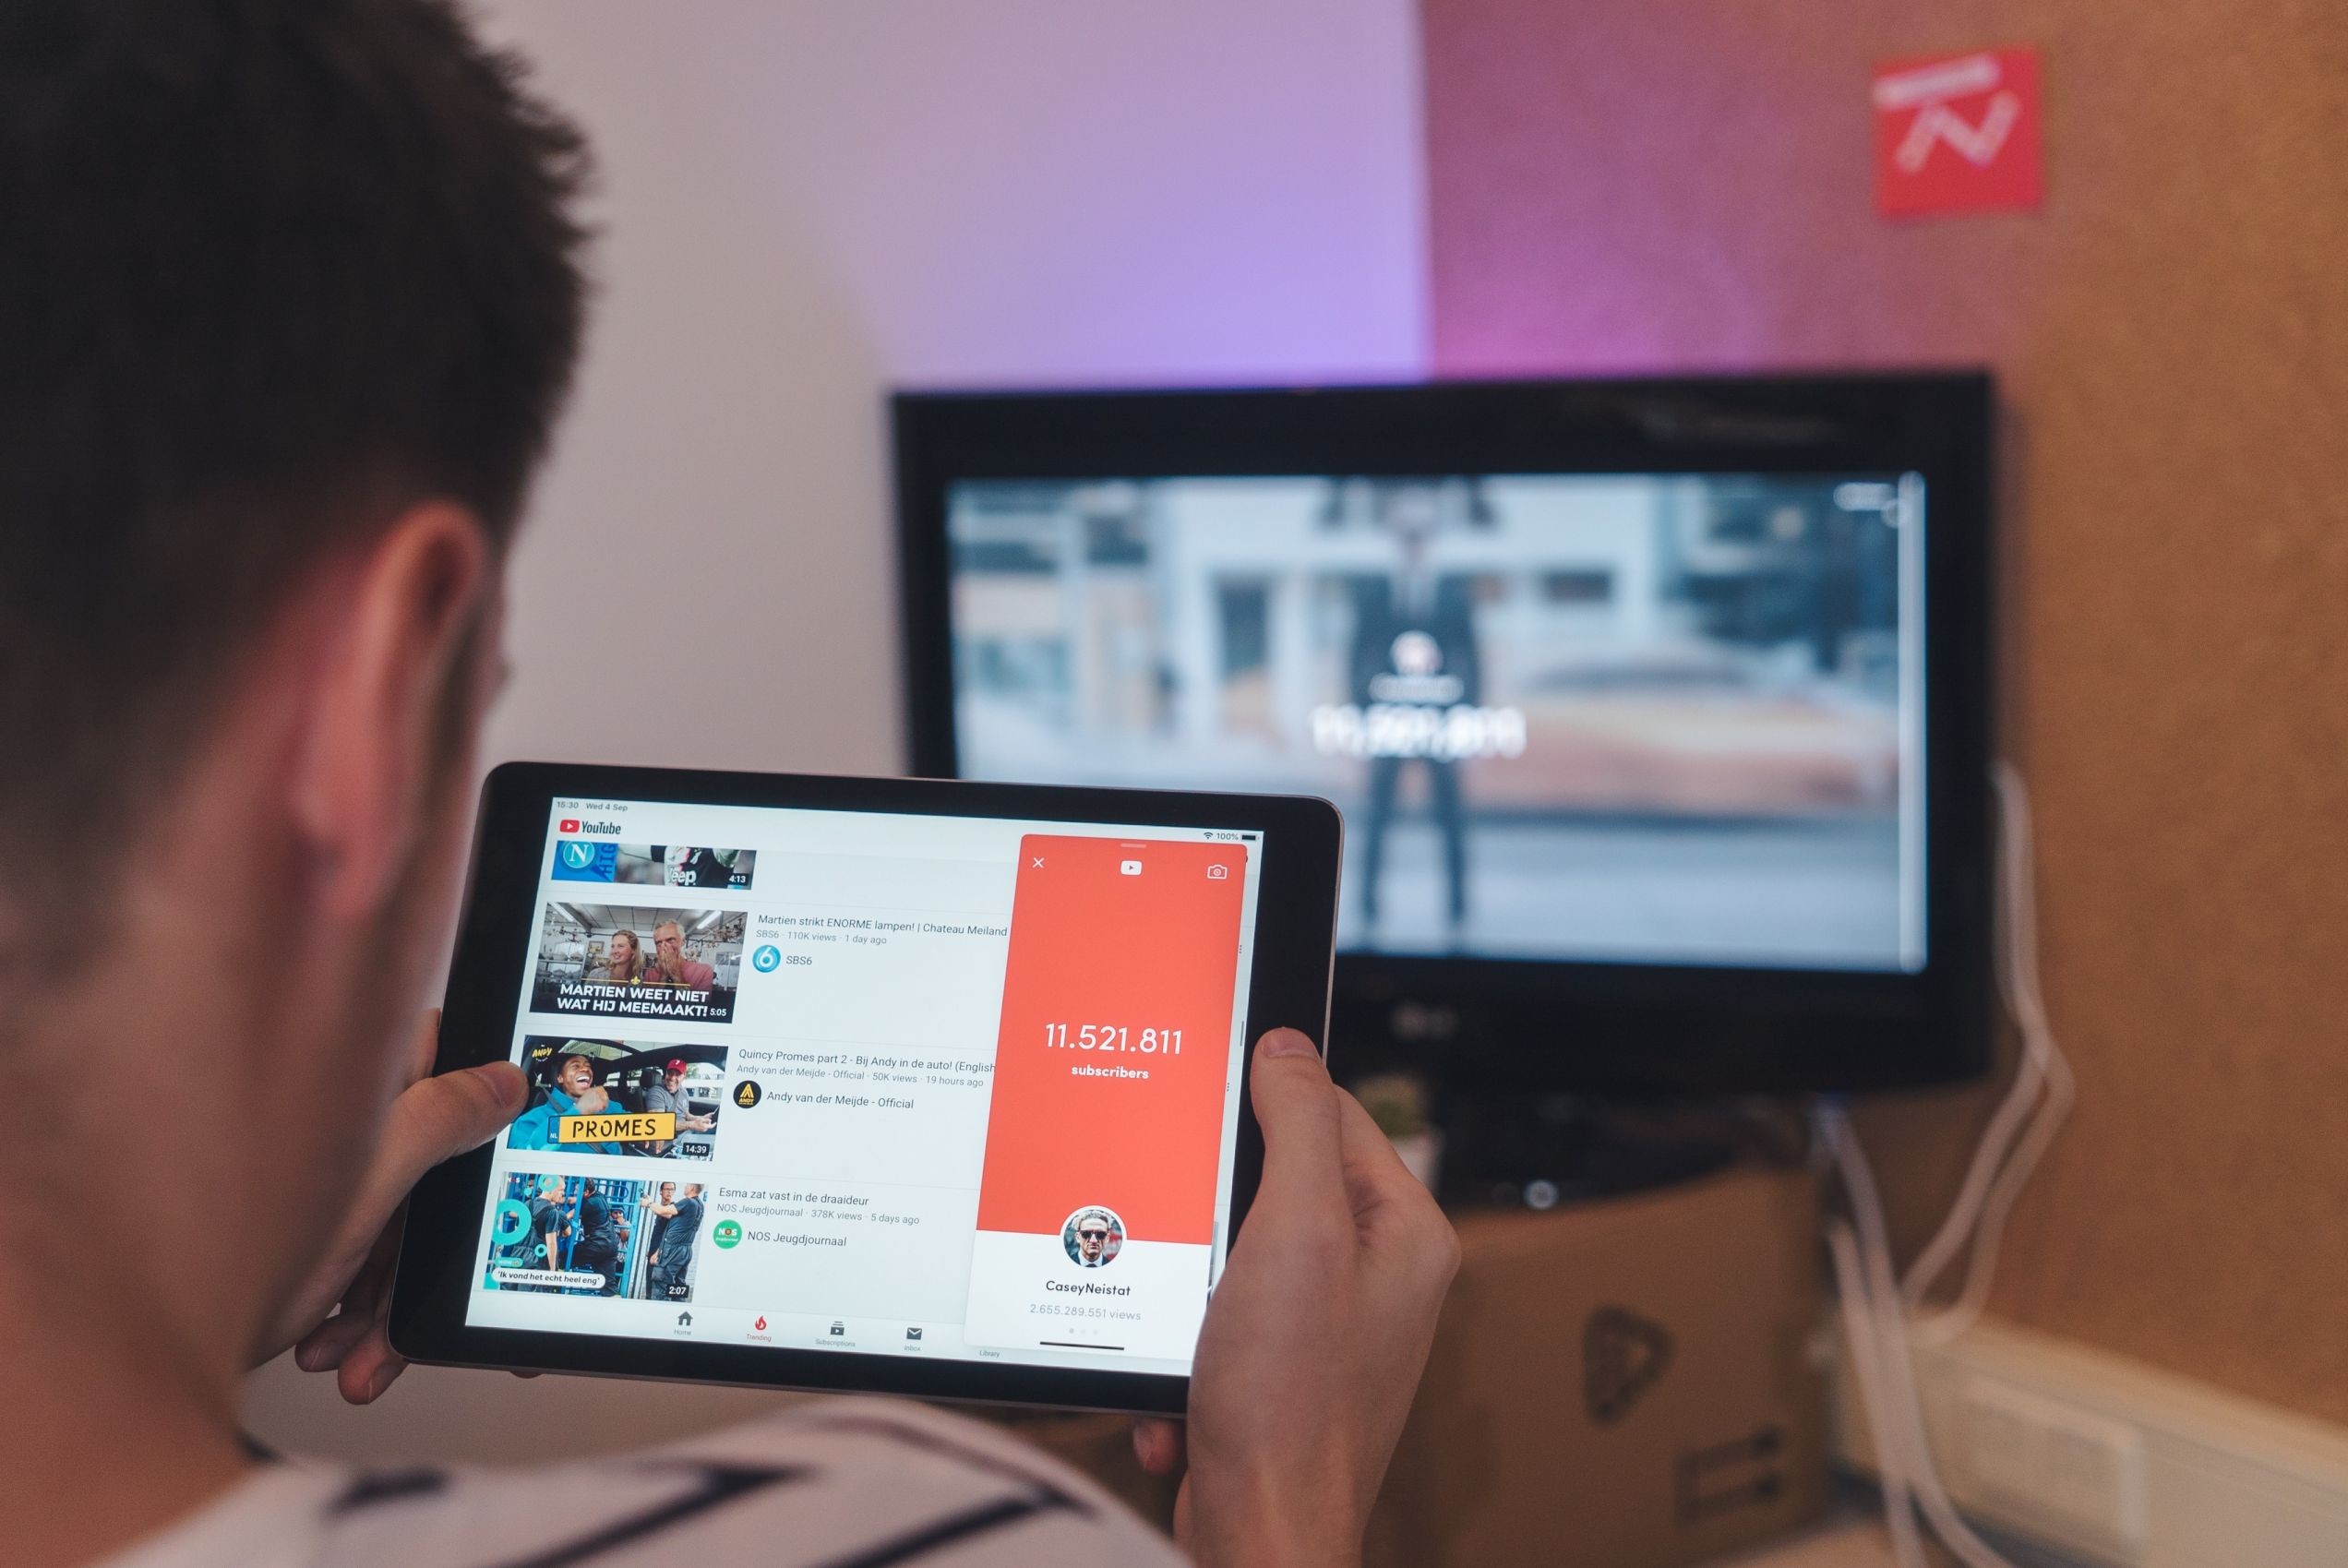
Top 15 Faceless Youtube Channel Ideas for 2025
Posted on Fri, September 9, 2022
Steal these 20 ChatGPT Prompts for Your Video Scripts
Posted on Fri, April 12, 2024

ChatGPT + AI Video = The Holy Grail of YouTube Automation
Posted on Fri, April 14, 2023

Content Creation

Business and Corporate

Marketing and Social Media

Education and E-Learning

eCommerce
Localization and Translation
Latest

How to Create a Video Resume With AI
Posted on Tue, May 6, 2025
Synthesia vs Fliki - Which is better in 2025
Posted on Mon, April 28, 2025
AI Filmmaking in 2025: Everything You Need to Know
Posted on Thu, April 24, 2025

Hotpot AI Review: Is This AI Design Tool Worth the Hype in 2025?
Posted on Fri, April 18, 2025

Best Real Estate Video Marketing Guide for 2025
Posted on Wed, April 16, 2025

AI Roundup: ChatGPT’s Memory Revolution, Google AI Updates, Amazon Nova Reel and More
Posted on Fri, April 11, 2025
LinkedIn Video Specs Guide: Optimal Sizes and Dimensions for 2025
Posted on Mon, April 7, 2025
GPT‑4o Image Generation: Everything You Need To Know
Posted on Wed, April 2, 2025
Lip Sync AI: Best tools to Lip Sync a Video with AI in 2025
Posted on Thu, March 27, 2025
How to Add Music to Instagram Post in 2025
Posted on Wed, March 19, 2025
AI Roundup: OpenAI’s New Agentic Tools, Google’s Gemma 3, and Microsoft’s Latest LLM
Posted on Thu, March 13, 2025
How to Add Effects to Videos Online
Posted on Wed, March 12, 2025